Antares
Antares
en
en
  • Getting Started
    • Account Registration
    • Create App
    • Add Devices to the Application
    • Installation Board and Library
      • ESP8266
      • ESP32
      • STM32
    • Arduino IDE Installation
    • Arduino Library Installation
      • Antares LoRaWAN
      • Antares Wi-Fi HTTP
      • Antares Wi-Fi MQTT
      • DHT11 Sensor Library
      • Adafruit SSD1306
    • STM32 Cube IDE Installation
    • Expansion Pack I-CUBE-LRWAN Installation
    • Software Installation
      • MQTTX Installation
      • Postman Installation
      • Operating System (OS) on SD Card Installation
    • Quickstart
  • Antares Insight Hub
    • Getting Started
      • Request Demo
      • Request Free Trial
    • Usecase
      • Power Meter
        • Power Meter Usecase Prerequisites
        • Power Meter Device Recommendation
        • Payload Example Power Meter
        • Setup Device Threshold Power Meter
      • Water Meter
        • Water Meter Usecase Prerequisites
        • Water Meter Device Recommendation
        • Payload Example Water Meter
        • Setup Device Threshold Water Meter
      • Water Level
        • Water Level Usecase Prerequisites
        • Water Level Device Recommendation
        • Payload Example Water Level
        • Setup Device Threshold Water Level
      • Environment Monitoring
        • Prerequisites for Use of Environmental Monitoring
        • Environment Monitoring Device Recommendation
        • Payload Example Environment Monitoring
        • Setup Device Threshold Environment Monitoring
    • Settings
      • Manage Alert Recipient (Telegram)
      • Manage User
      • Roles
  • Subscription and Payment
    • Platform
      • How to Use Platform Packages
      • How to Purchase a Platform Subscription
        • Payment Using Antares Coins
        • Payment Using Virtual Account
          • Mandiri Bank
          • Permata Bank
          • BRI Bank
          • BNI Bank
        • Payment Using e-Wallet (LinkAja)
        • Payment Using Credit Cards (CC)
      • Procedure for Renewing a Platform Subscription
      • Procedure for Changing Platform Subscription
    • Connectivity
      • How to Use Connectivity Packages
      • How to Purchase a Connectivity Subscription
        • Payment Using Antares Coins
        • Payment Using Virtual Account
          • Mandiri Bank
          • Permata Bank
          • BRI Bank
          • BNI Bank
        • Payment Using e-Wallet (LinkAja)
        • Payment Using Credit Cards (CC)
      • Procedure for Renewing a Platform Subscription
      • Procedure for Changing Connectivity Subscription
    • Antares Coins
      • Antares Coins Top Up Payment Procedures
        • Payment Using Virtual Account
          • Mandiri Bank
          • Permata Bank
          • BRI Bank
          • BNI Bank
        • Payment Using e-Wallet (LinkAja)
        • Payment Using Credit Cards (CC)
  • Code and library examples
    • ESP8266 (Wi-Fi)
      • General Prerequisites ESP8266 Wi-Fi
      • ESP8266 (Wi-Fi) HTTP Protocol
        • Sending Simple Data to Antares with HTTP Protocol
        • Retrieve the Last Data from Antares Server with HTTP Protocol
        • Simple Project ESP8266 HTTP Antares
          • Periodic Post DHT 11 Data
          • Post DHT 11 Data with Push Button
          • Post DHT 11 data and Display on OLED
          • Get Data displayed on OLED
          • Post and Get DHT 11 Data displayed on OLED
          • Controlling Relays and LEDs Through Get Commands
      • ESP8266 (Wi-Fi) MQTT Protocol
        • Sending Simple Data to Antares with the MQTT Protocol
        • Retrieve Last Data from Antares Server with MQTT Protocol
        • Simple Project ESP8266 MQTT Antares
          • Periodic Send DHT 11 Data
          • Send DHT 11 Data with Push Button
          • Send DHT 11 data and display on OLED display
          • Retrieve Data displayed on OLED Display
          • DHT 11 Send Data and Retrieve Data displayed on OLED Display
          • Controlling Relays and LEDs Through Get Commands
    • Arduino Uno
      • Arduino IDE Installation
      • Antares Ethernet Shield Library Installation
      • Configuration
      • Send Simple Data to Antares
    • ESP32 (Wi-Fi)
      • General Prerequisites ESP32 Wi-Fi
      • ESP32 (Wi-Fi) HTTP Protocol
        • Sending Simple Data to Antares with HTTP Protocol
        • Retrieve the Last Data from Antares Server with HTTP Protocol
        • Simple Project Lynx-32 HTTP Antares
          • Periodic Post DHT 11 Data
          • Post DHT 11 Data with Push Button
          • Post DHT 11 Data and Display on OLED
          • Get Data displayed on OLED
          • Post and Get DHT 11 Data displayed on OLED
          • Controlling Relays and LEDs Through Get Commands
      • ESP32 (Wi-Fi) MQTT Protocol
        • Sending Simple Data to Antares with the MQTT Protocol
        • Retrieve Last Data from Antares Server with MQTT Protocol
        • Simple Project Lynx-32 MQTT Antares
          • Periodic Send DHT 11 Data
          • Send Data DHT 11 dengan Push Button
          • Send DHT 11 Data and Display on OLED
          • Retrieve Data displayed on OLED Display
          • DHT 11 Send Data and Retrieve Data displayed on OLED
          • Controlling Relays and LEDs Through Retrieve Commands
      • HTTP & MQTT Protocol
    • ESP32 (LoRa)
      • General Prerequisites ESP32 LoRa
      • Sending Simple Data to Antares
      • Project Simple Lynx-32 LoRa Antares
        • Uplink DHT11 Data Periodically
        • Uplink Data DHT11 dengan Push Button
        • Uplink DHT11 Data and Display on OLED Display
        • Downlink Data Displayed on OLED
        • DHT 11 Uplink Data and Downlink Data displayed on OLED
        • Controlling Relay and LED via Downlink Command
      • LoRaWAN Class
    • STM32 (LoRa) STM32Cube IDE
      • General Prerequisites STM32 (LoRa) STM32Cube IDE
      • Sending Simple Data to Antares
    • STM32 (LoRa) Arduino IDE
      • General Prerequisites STM32 (LoRa) Arduino IDE
      • Sending Simple Data to Antares
    • Raspberry Pi
      • GUI (Graphical User Interface)
        • Raspberry GUI General Prerequisites
        • Sending Data Using Node.js
        • Temperature and Humidity Monitoring Using DHT11 Sensor
      • SSH (Secure Shell)
        • Common Raspberry SSH Prerequisites
        • Sending Data Using Node.js
        • Temperature and Humidity Monitoring Using DHT11 Sensor
    • NB-IoT
      • NB-Lynx-7000
        • General Prerequisites NB-Lynx-7000
        • Sending Simple Data to Antares
        • Retrieving GNSS (Global Navigation Satellite System) Data
      • NB-Lynx-95
        • General Prerequisites NB-Lynx-95
        • Sending Simple Data to Antares
    • Android
      • Retrieve data from ANTARES using Android
      • Coding Stuff
    • MIT App Inventor
    • Node-RED
    • Postman
    • MQTT | Push data to Device
    • HTTP | Subscribe and Notify Mechanism
    • PHP Library
    • MQTT | Subscribe LoRa Device
    • LoRaWAN | Downlink Tutorial
    • LoRaWAN Device Register
      • Register Menu
    • GPS TrackerID
  • Data Model
  • Port Configuration
  • API | HTTP
    • Device
    • Data of Device
    • Subscriber
  • API | MQTT
    • Device
    • Subscriber
  • List of Acronyms
  • Relevant Software
Powered by GitBook
On this page
  • Postman Installation
  • Connect to ANTARES
  • B. Saving data to ANTARES (Post)
  1. Code and library examples

Postman

PreviousNode-REDNextMQTT | Push data to Device

Last updated 8 months ago

Postman is an application that functions as a REST CLIENT for testing REST APIs. Postman is commonly used by API developers as a tool to test the APIs they have created.

Postman Installation

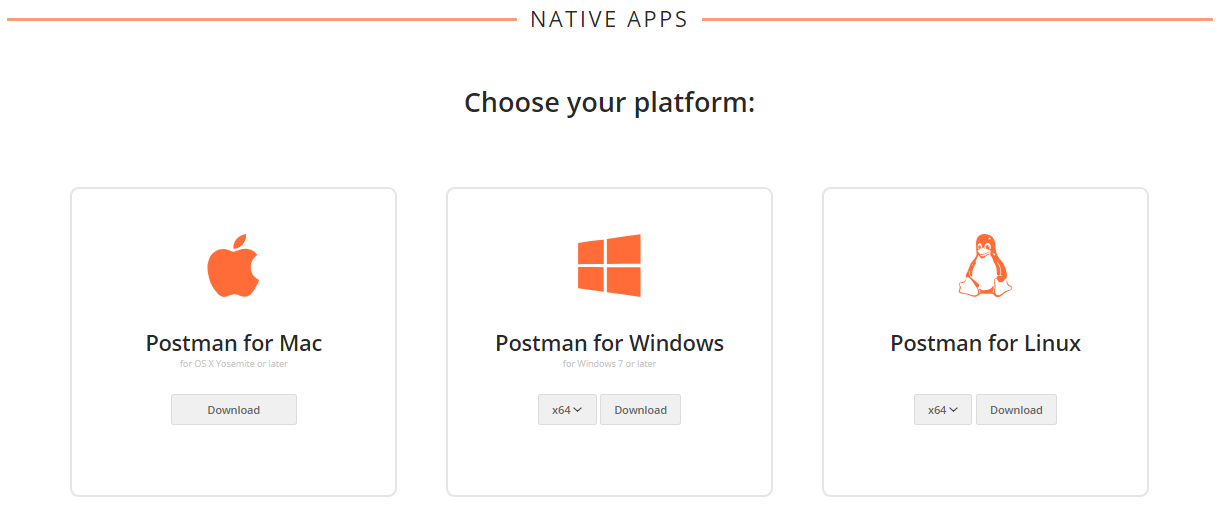
1.Download Postman

The first thing to do is . Choose according to the Operating System of your laptop/computer.
2. Postman Installation

After the download is complete, run the Postman application installation setup. Setup will run the Postman application installation process automatically.
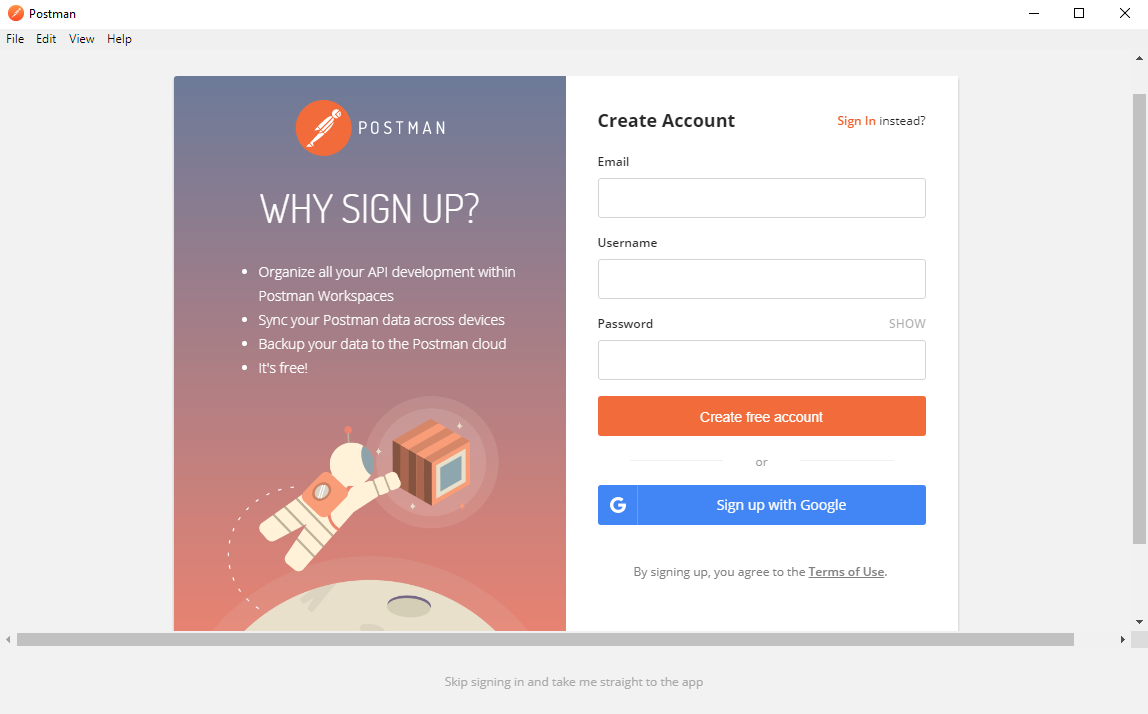
Once the installation process is complete, you will be prompted to create a Postman account and sign in using that account. You can also sign in using your Google account.
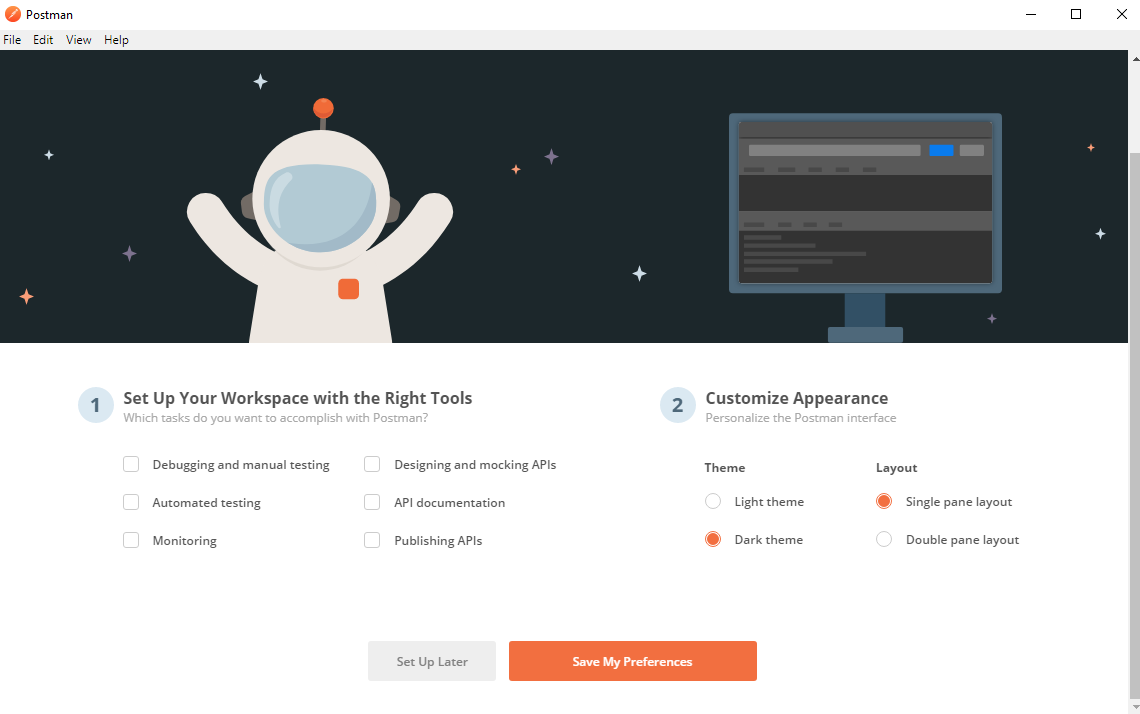
3. Landing Page Postman

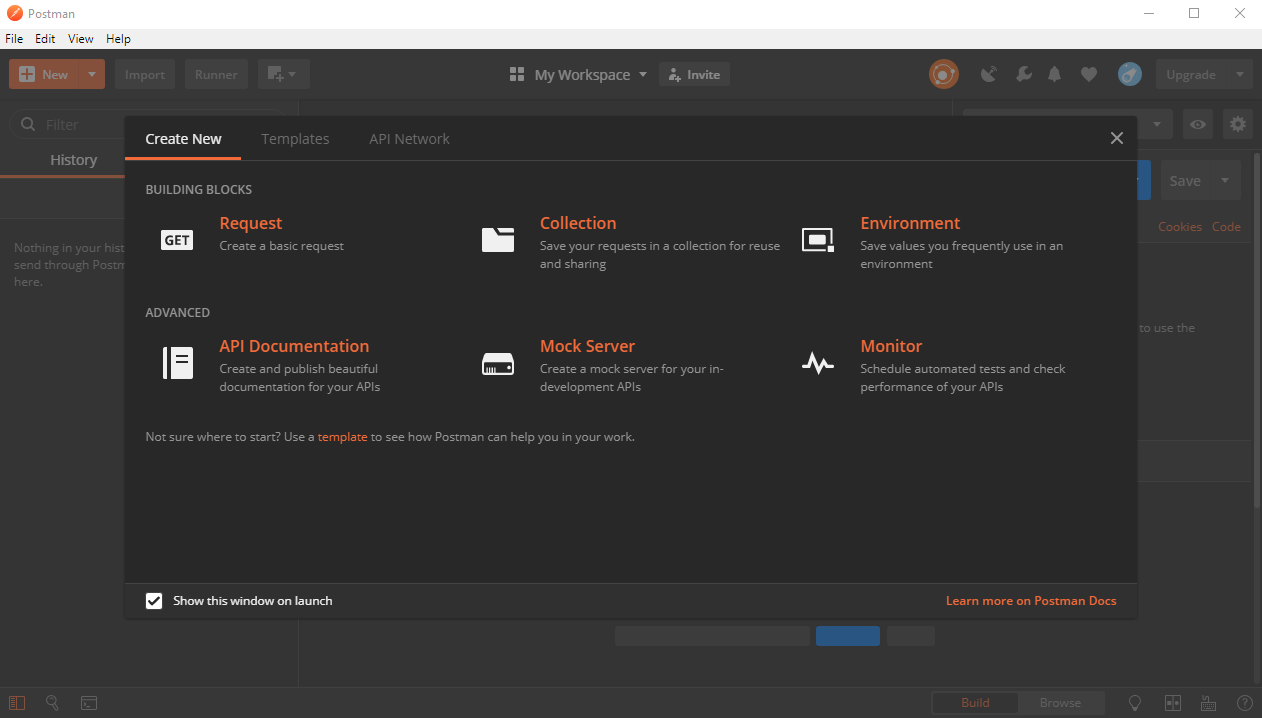
In the default view of the Postman landing page, there is a workspace to operate Postman functions. You can create requests, collections, environments, APIs, and more in the launchpad section. Postman also provides in-app tutorials that you can easily access on the launchpad.
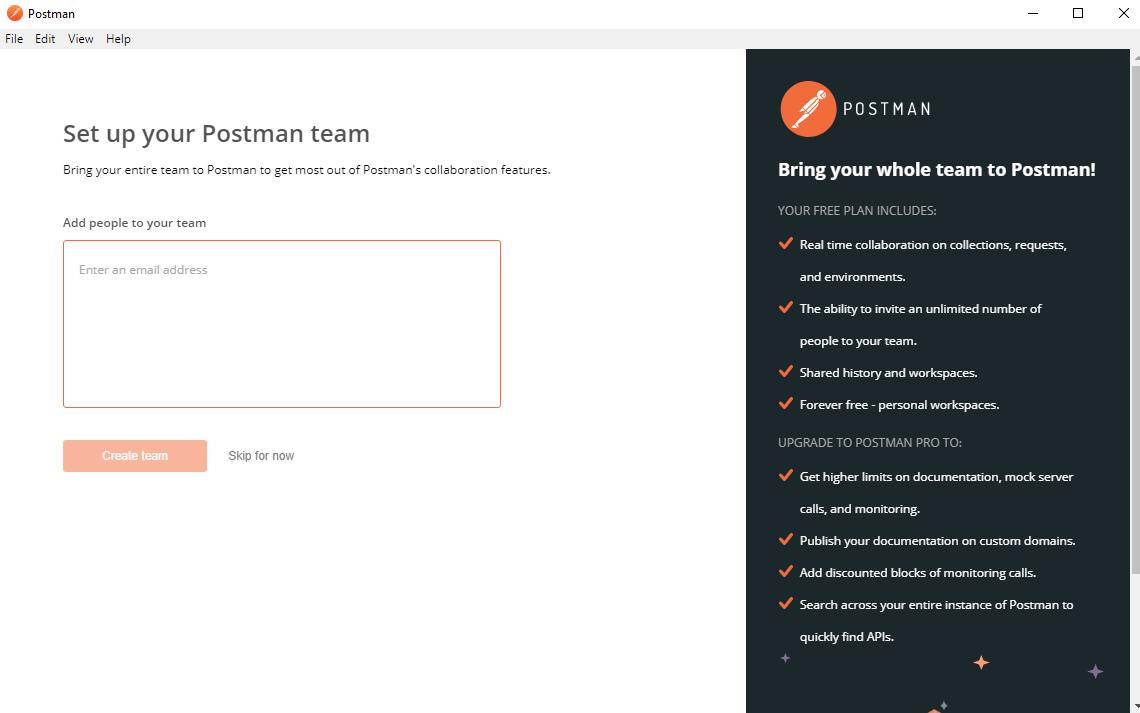
You can also change the Postman application settings at File > Settings on the menu bar.
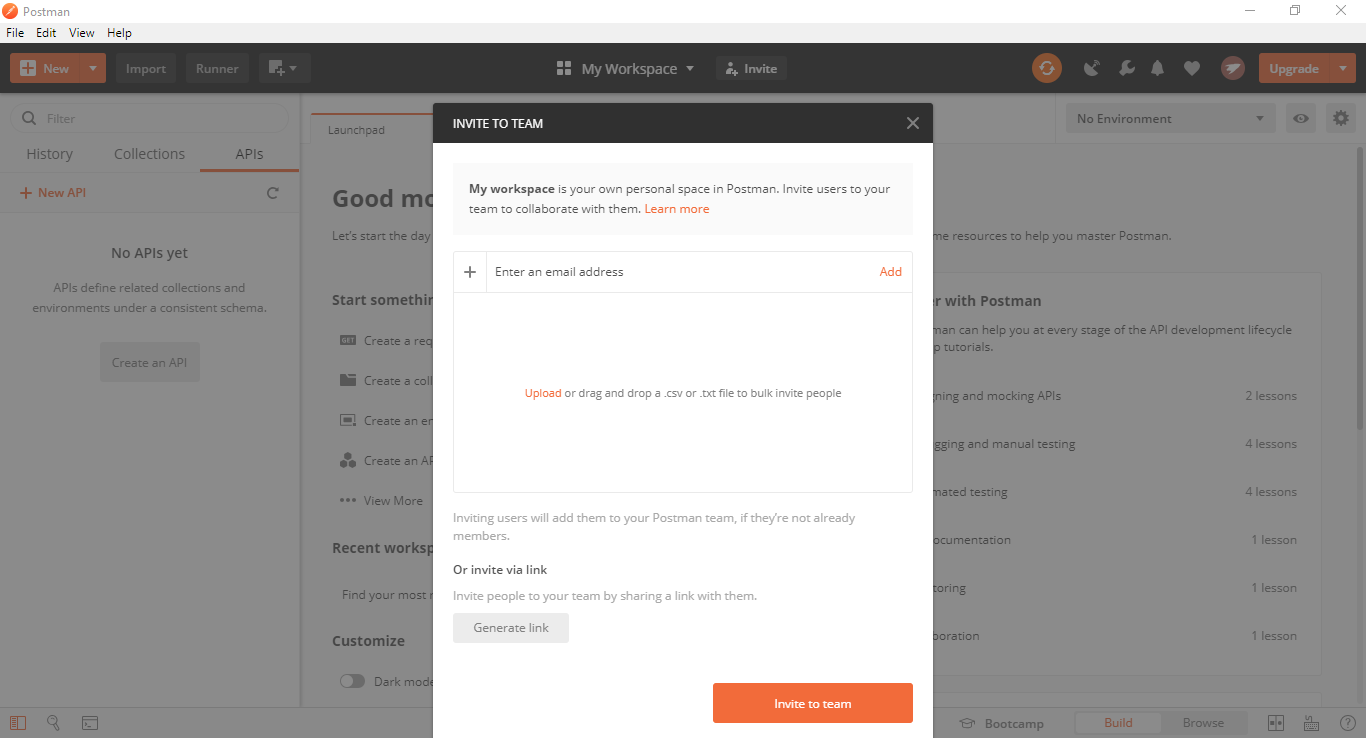
Postman makes it easy for those of you who work together in teams, where you can add your colleagues to your workspace. You only need to invite your teammates via e-mail.
Connect to ANTARES

Here is a tutorial on how to use some of the ANTARES APIs through Postman

A. Import ANTARES API Collection

ANTARES API Collection is a collection of APIs used by ANTARES to integrate ANTARES clients and servers. This API collection will make it easier for users to connect ANTARES with Postman. At this stage, Postman users will be asked to import the ANTARES API into the Postman collection.

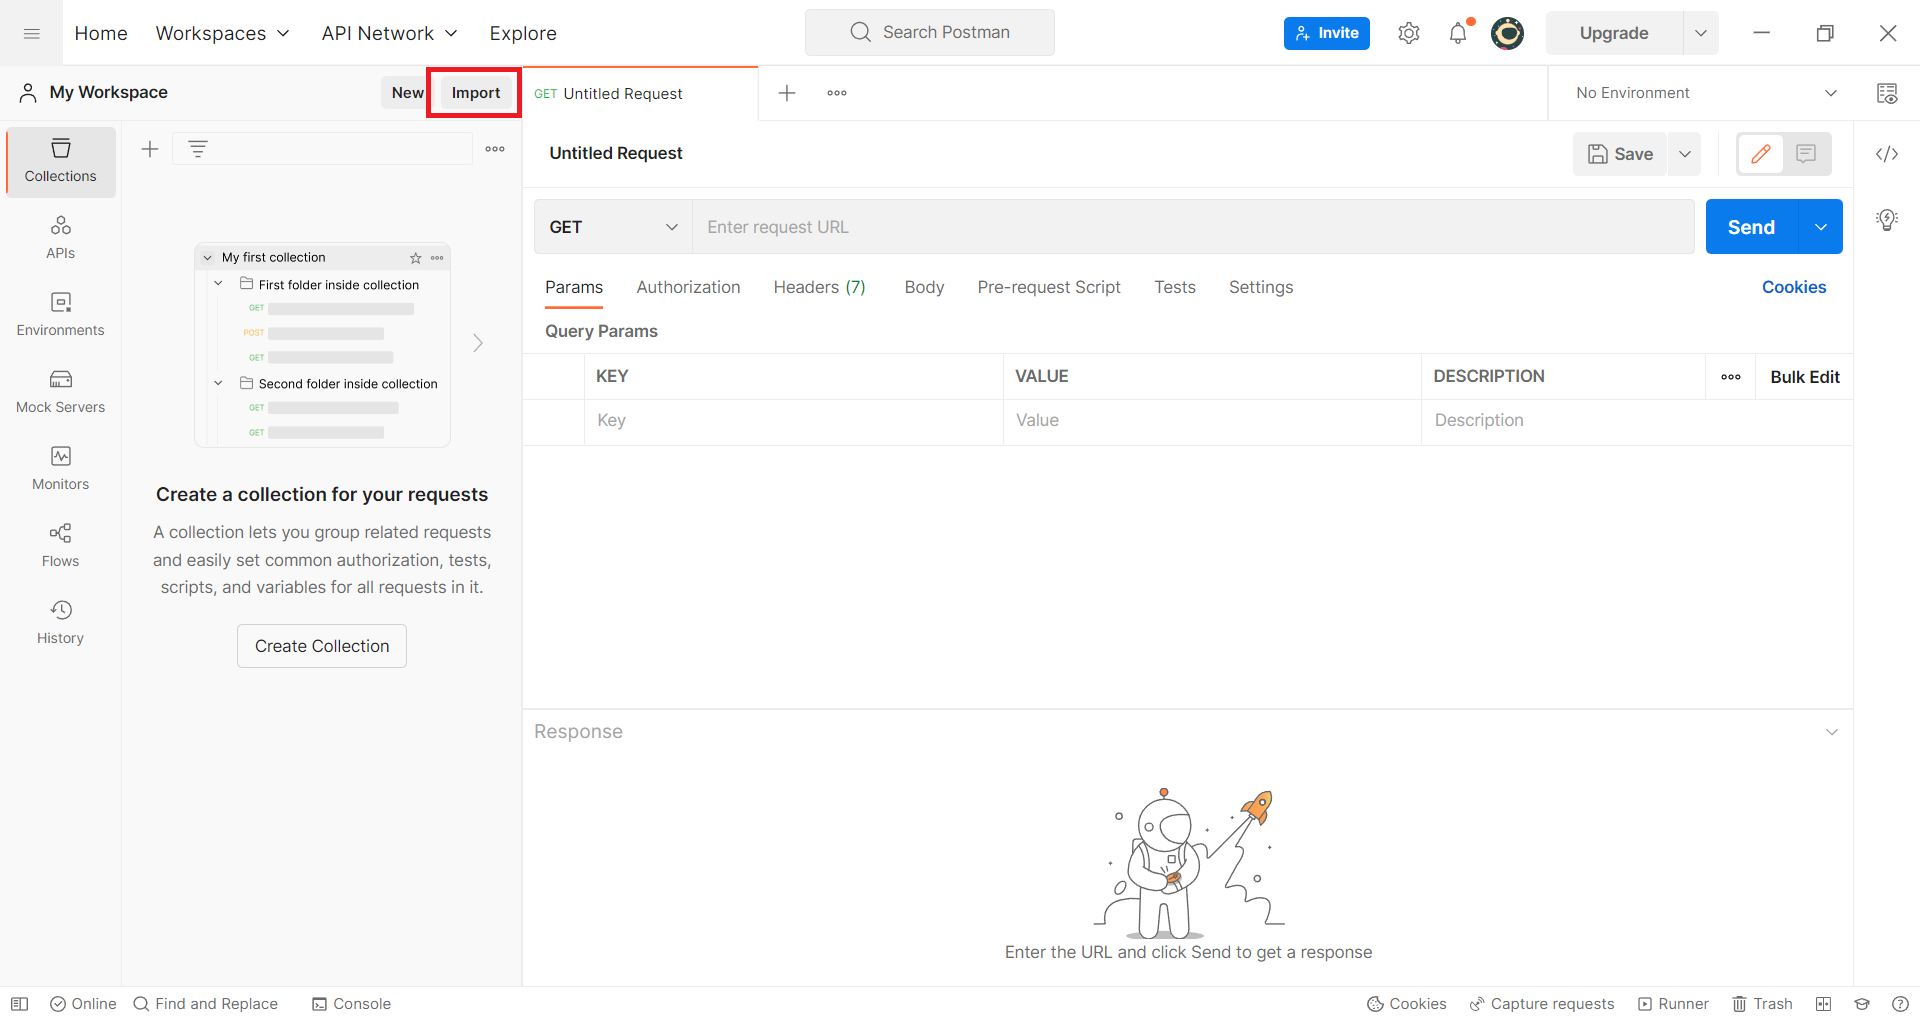
  1. Open the import tool on the toolbar in the Postman workspace.
    A menu will then appear to import the collection.
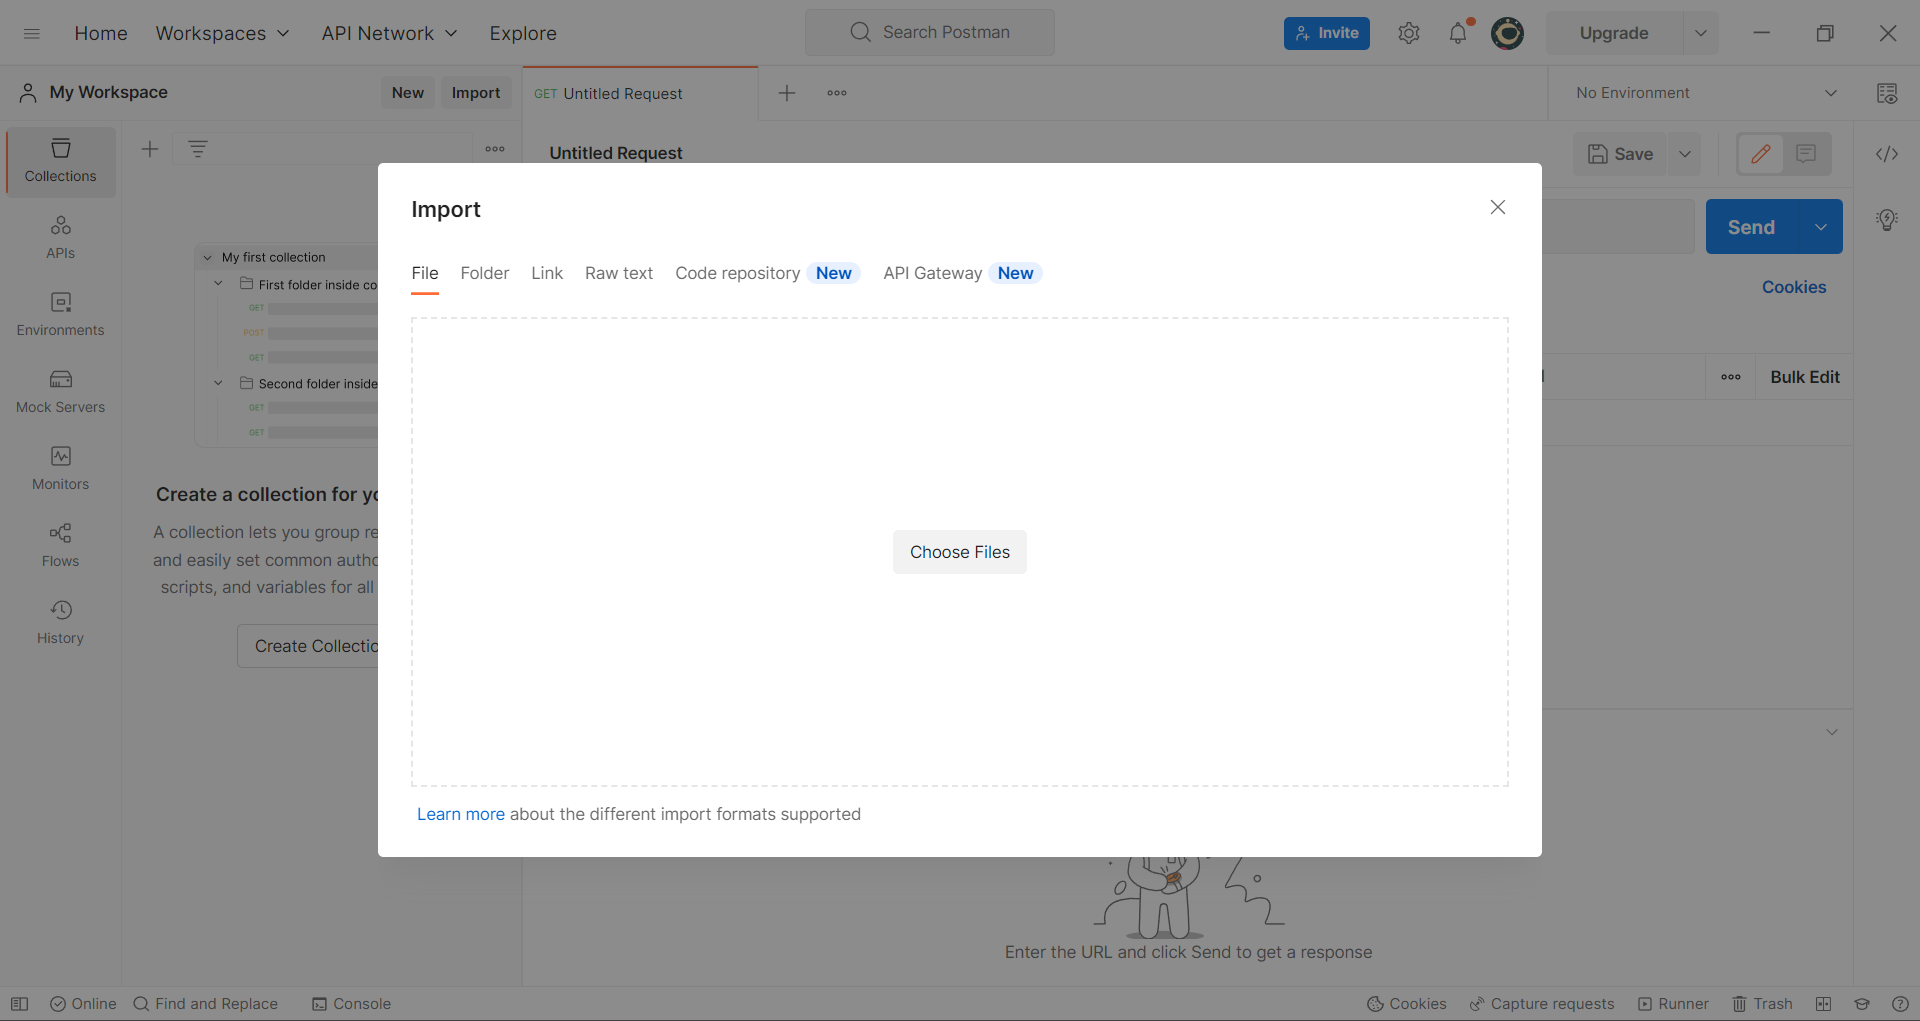
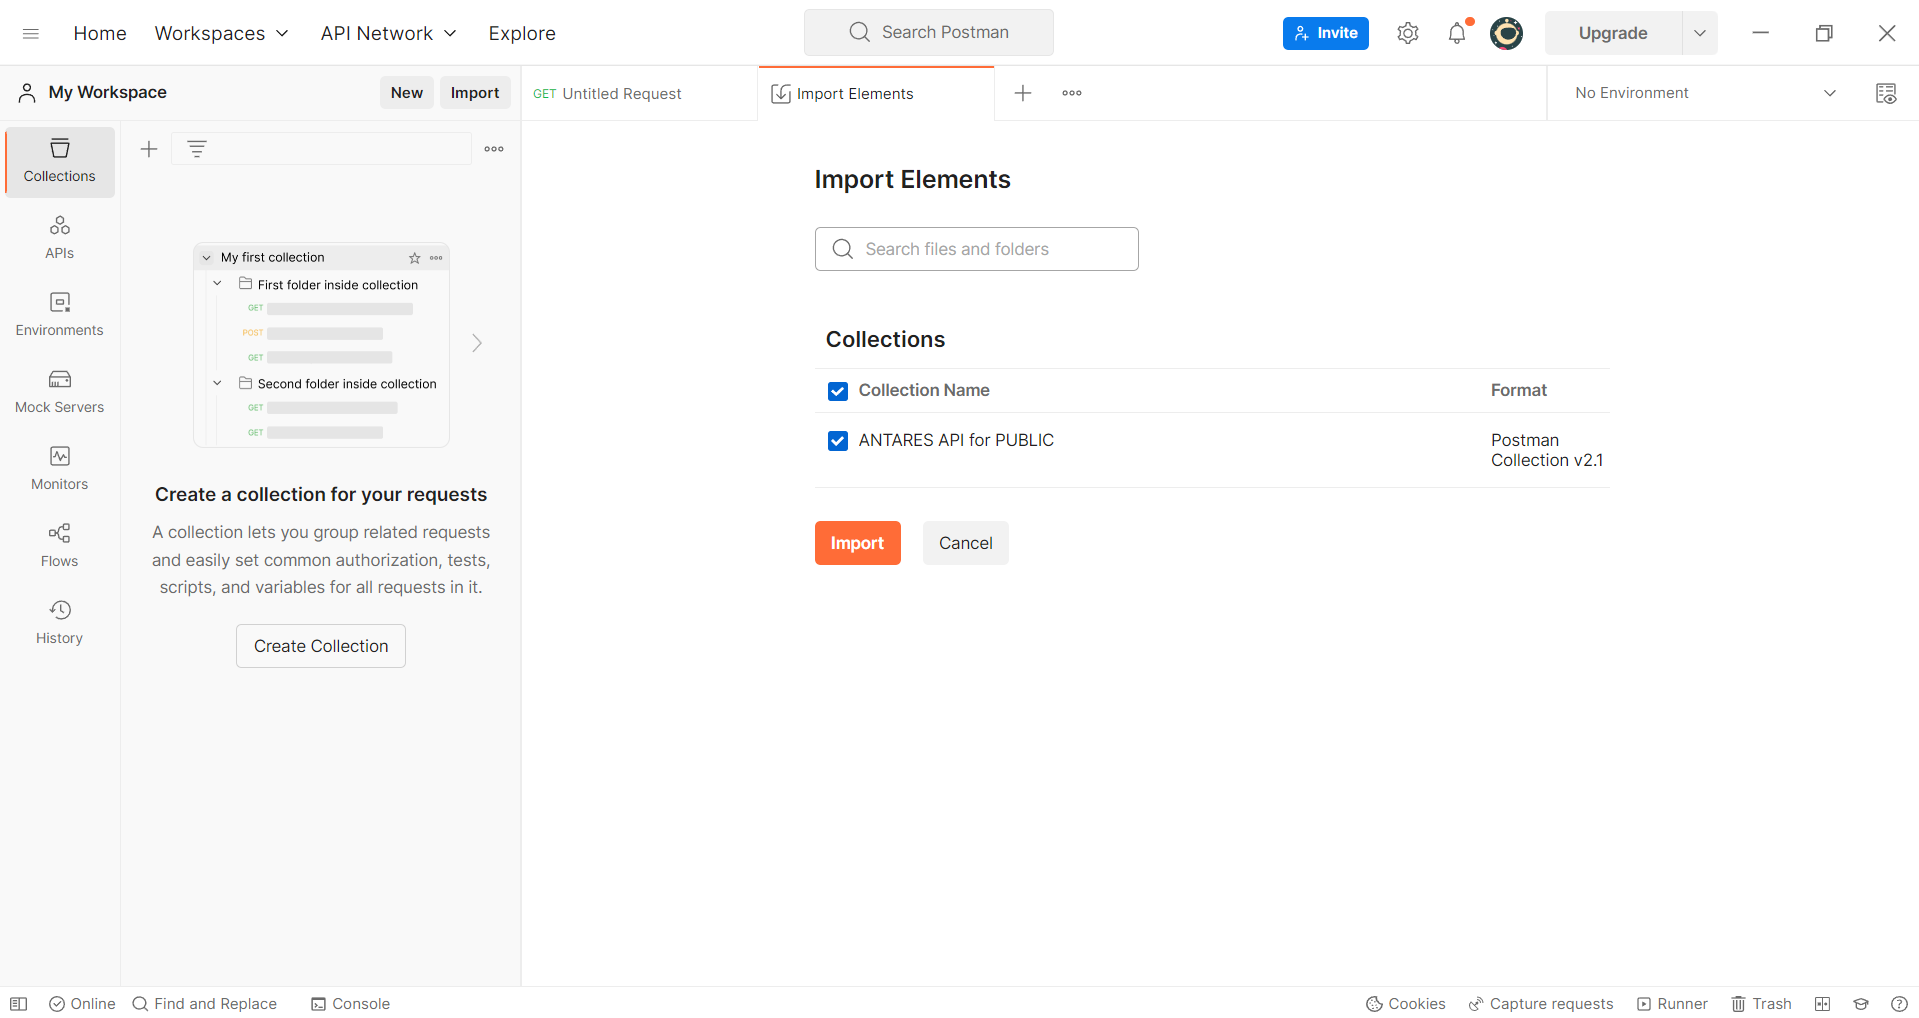
  2. Download the .zip file below after that extract it first. In the Import File section, click Choose Files and please click the file that was extracted earlier.

Then click the Import button and the ANTARES API collection will appear in the collection section in your Postman workspace.
3. The next step is to adjust the settings in the ANTARES API for Public folder with the properties of your device on ANTARES.

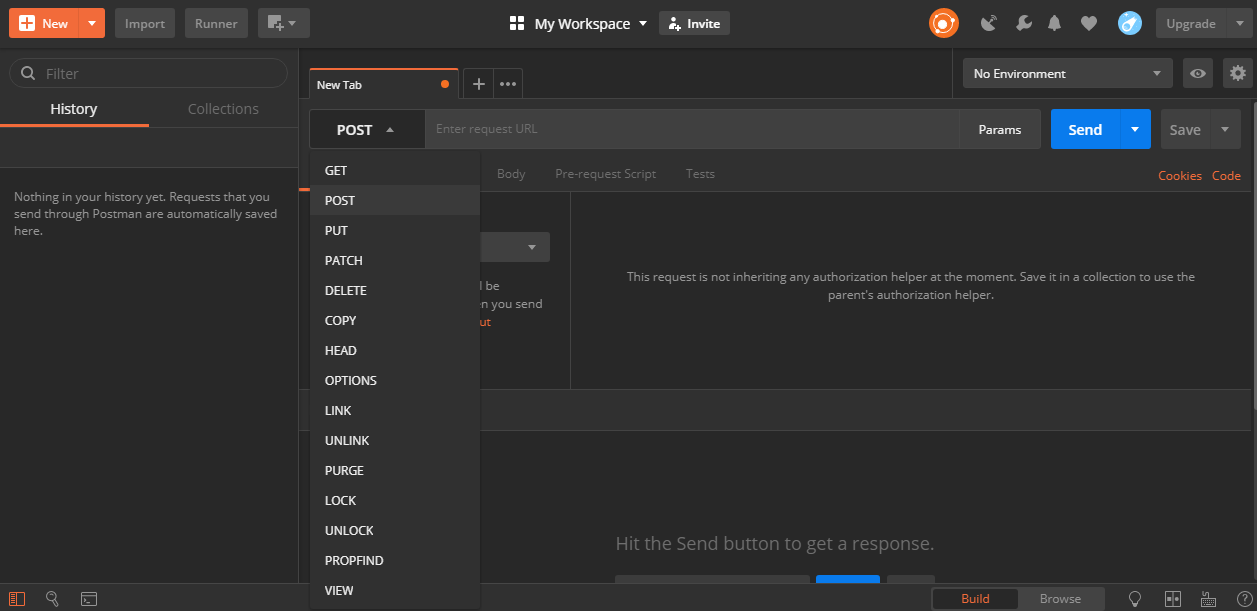
  1. To adjust the settings in the ANTARES API collection folder you need to open the edit menu in the ANTARES API for Public folder located on the action bar of the folder (button with a three-dot icon next to the collection folder name), then open the variables tab.

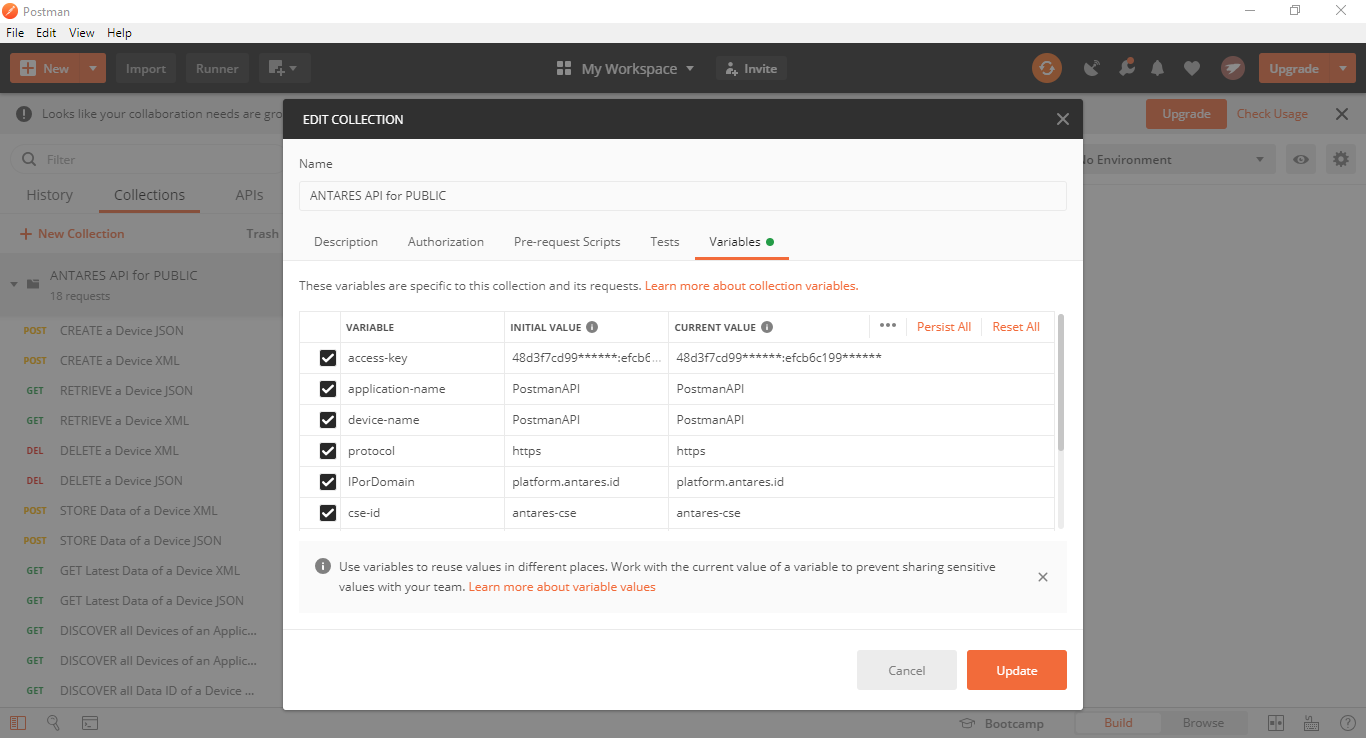
  2. In the variable menu there are several fields that you must adjust to the properties of your ANTARES device. You simply change the Initial-value and Current-value fields according to your device properties in ANTARES. The fields that you must adjust are described in the following table.

Field

Initial Value

Current Value

access-key

access-id:access-password

access-id:access-password

application-name

your app name in ANTARES

your app name in ANTARES

device-name

your device name in ANTARES

your device name in ANTARES

e-mail

Your e-mail

Your e-mail

device-id

your-device-id

your-device-id

Application-name and device-name are the application and device names that you create in your ANTARES console. Meanwhile, you can get the access-key in the account section of your ANTARES console.
Here is an example of customising the fields in a variable in the collection menu.
B. Saving data to ANTARES (Post)

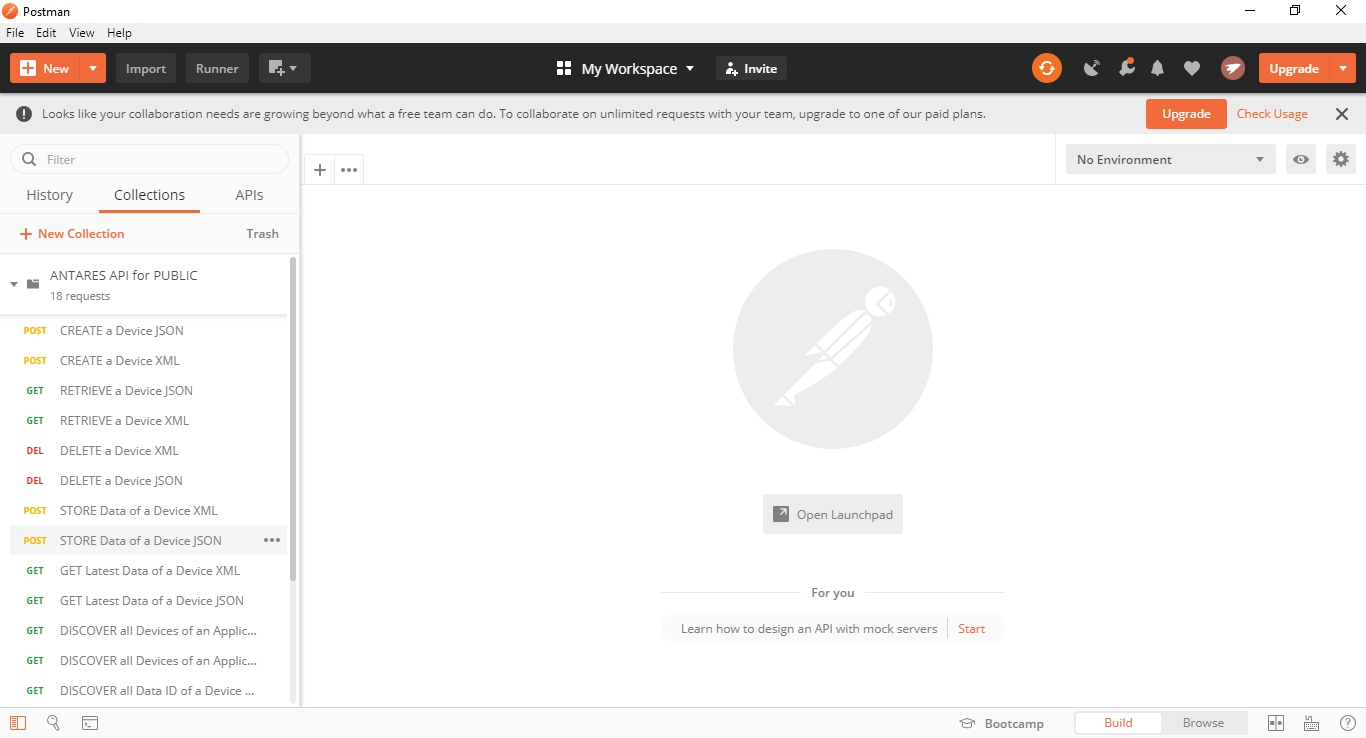
  1. Open the ANTARES API for Public folder on the collection tab in your workspace. In the folder there is a list of API functions. Select Store data of a device with the POST icon. There are two types of API store data functions, namely XML and JSON. The difference between the two is only in the type of data content delivery format, you can use either format.
  2. To edit the content of the data you will send, open the body tab and select the raw option. You can edit the content of the data that will be sent to your ANTARES device as needed.
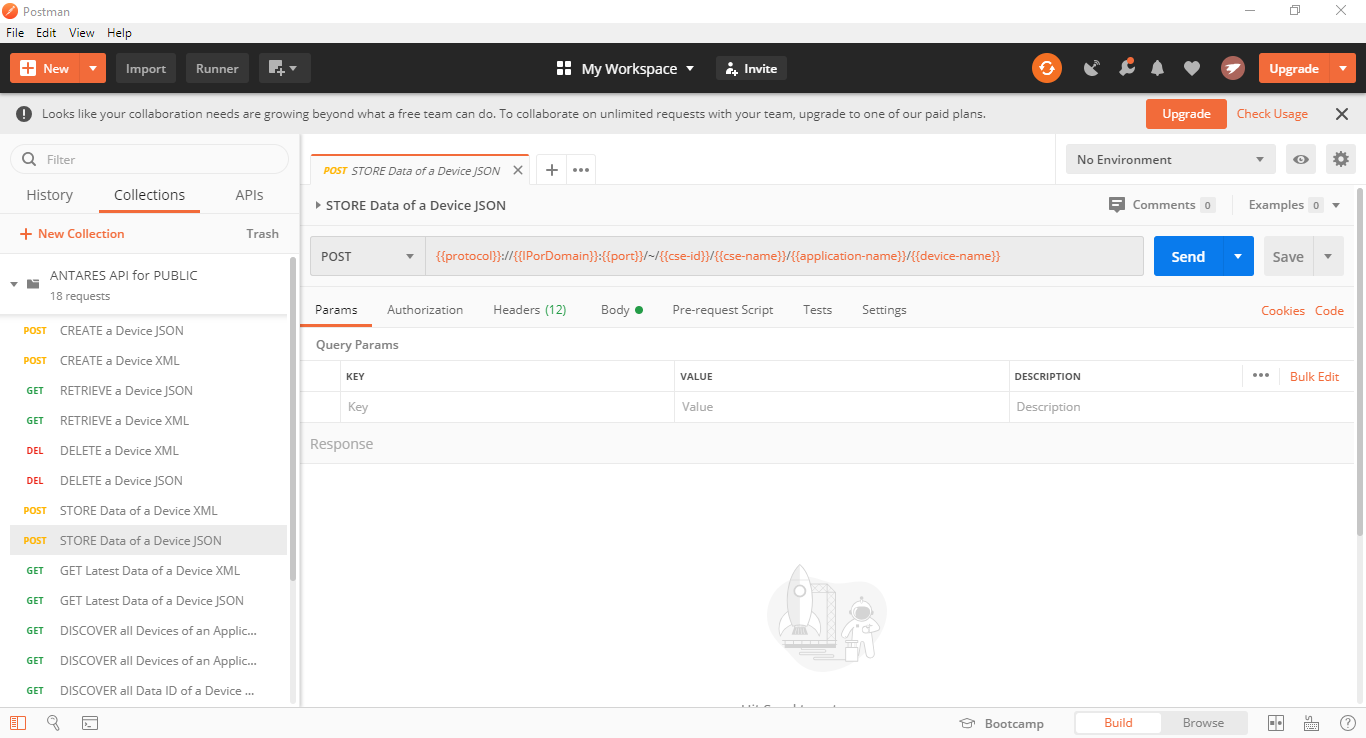
  3. The following are data content editing formats for XML and JSON formats

Field

Value

Body

Key and Value are the variables and values in the content.

Field

Value

Body

Key dan Value adalah variabel dan nilai yang ada di dala

4. After the content is edited according to what you need, you just need to send the data to ANTARES by clicking the SEND button and checking the data entered in ANTARES.

C. Pulling Data from ANTARES (Get)

  1. Open the ANTARES API for Public folder on the collection tab in your workspace. In the folder there is a list of API functions. Select Get latest data of a device with the GET icon. There are two types of API get data functions, namely XML and JSON. The difference between the two is only in the type of format for receiving data content, you can use either format.
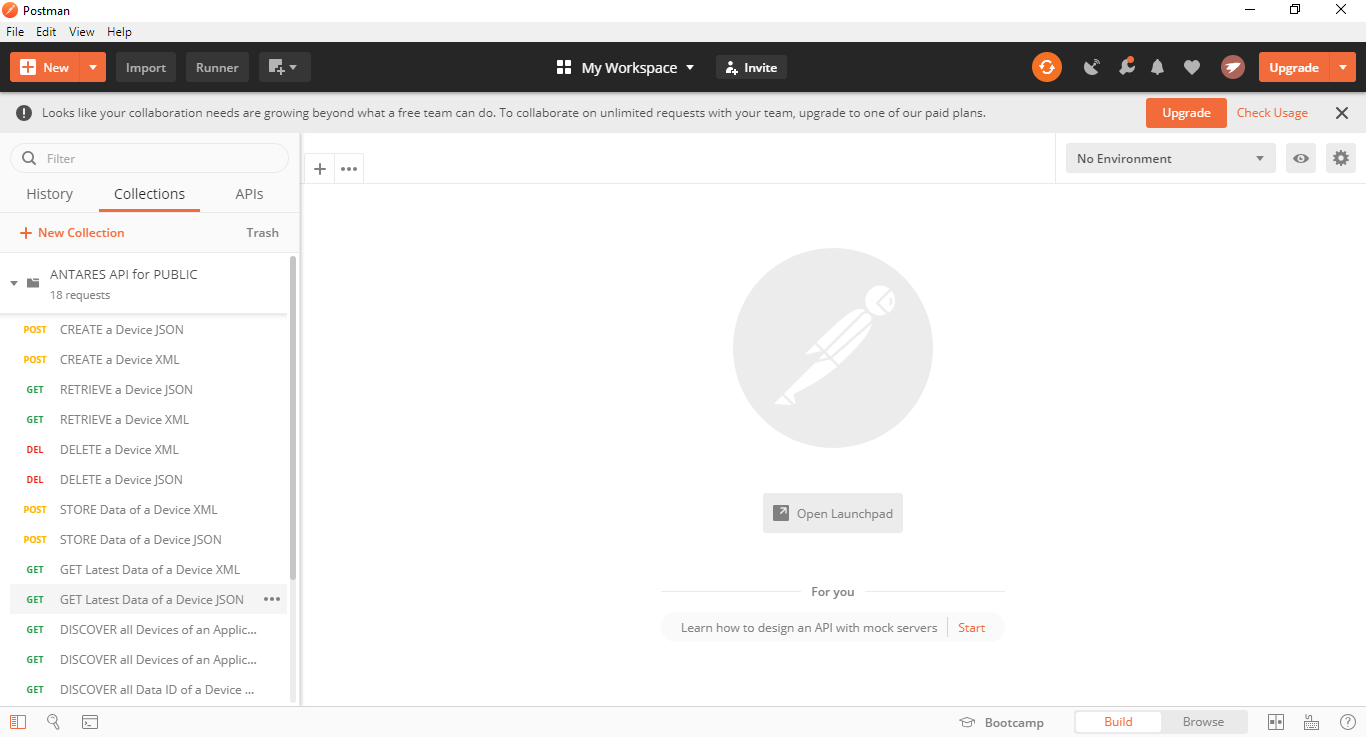
  2. After that, the launchpad get latest data of a device will appear in your workspace. You don't need to edit the URL or the value of the header in the launchpad. You just need to click the SEND button.
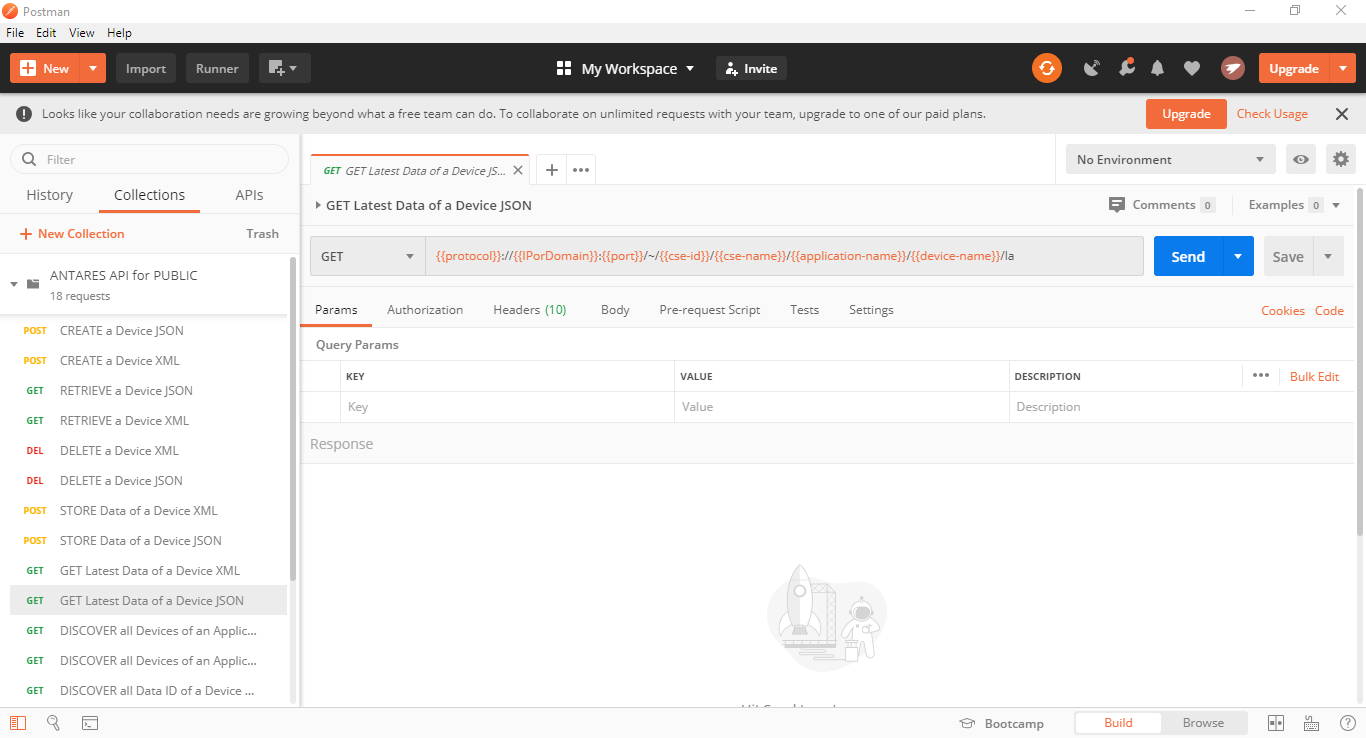
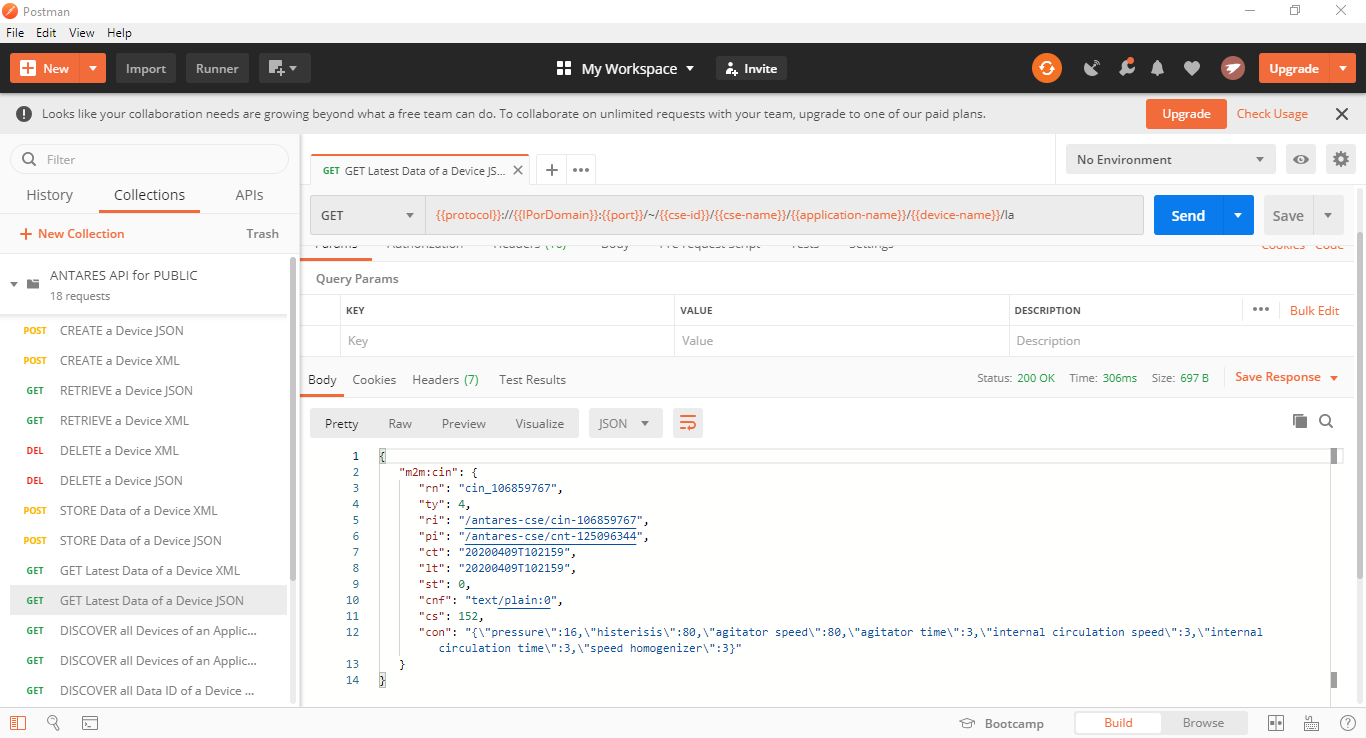
  3. After that you can see the data content that Postman received from ANTARES.
<m2m:cin xmlns:m2m="http://www.onem2m.org/xml/protocols">
<con>&lt;obj&gt;
        &lt;num key1="value1"/&gt;
        &lt;str key2="value2"/&gt;
        &lt;bool keyN="valueN"/&gt;
&lt;/obj&gt;</con>
</m2m:cin>XMLCopy
{
  "m2m:cin": {
    "con": "{\"key1\":\"integer-value\", \"key2\":\"string-value\", \"keyN\":\"valueN\"}"
  }
}
Download Postman
2KB
ANTARES_API_FOR_PUBLIC.rar