Sending Data Using Node.js
In this project you will be directed to send simple data from Raspberry Pi to Antares IoT Platform using Node.js.
Prerequisites
The materials required follow the General Prerequisites on the previous page. If you have not prepared the requirements on that page, then you can visit the following page.
Common Raspberry SSH PrerequisitesFollow These Steps
1. Switching on the Raspberry Pi
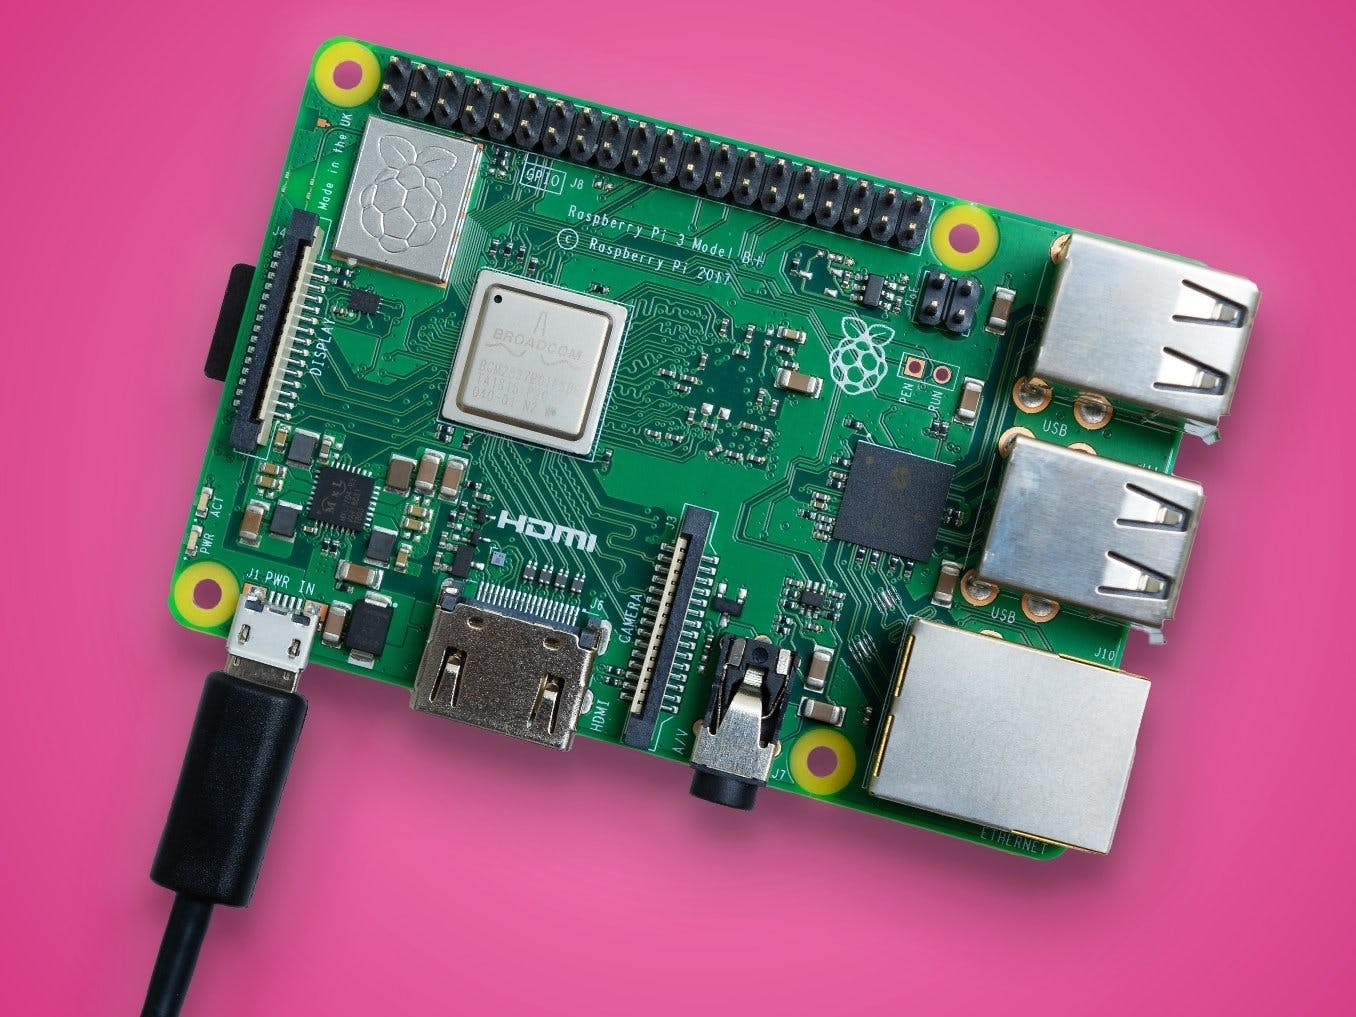
Before turning on the Raspberry Pi, make sure you have installed the SD Card that has the OS installed in the slot available on the Raspberry Pi board. You can turn on the Raspberry Pi by connecting it to the power source using USB-C as shown below.
2. Open PuTTY App
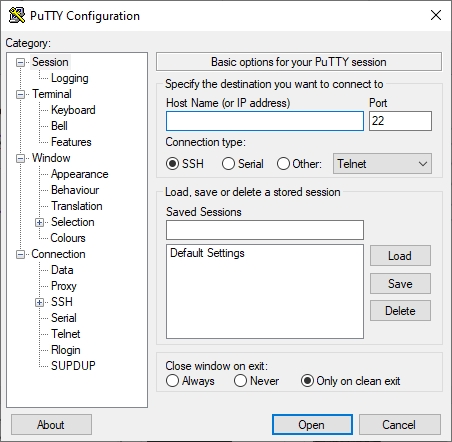
The PuTTY application is used to access the Raspberry Pi via SSH. The image below shows the initial appearance of the application when opened.
3. Check Raspberry Pi Connection with WiFi Network
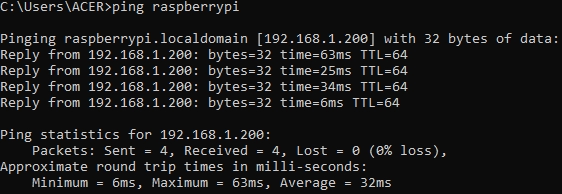
To connect the Raspberry Pi via SSH using the PuTTY application, you need to input the Host Name or IP Address of the Raspberry Pi. To check whether the Raspberry Pi is connected to a WiFi network, you can do the "ping" command to the Raspberry Pi hostname. Open a command prompt and enter the following syntax.
If the Raspberry Pi is connected to a WiFi network, the device will send a reply message to the computer as shown below.
4. Access Raspberry Pi by SSH
After ensuring that the Raspberry Pi can connect to our computer, then we can input the Raspberry Pi hostname in the PuTTY application as shown below, then press Open.
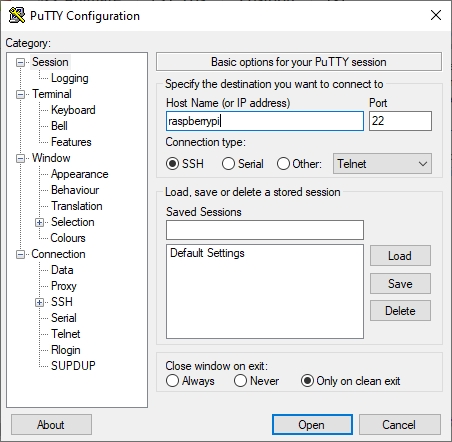
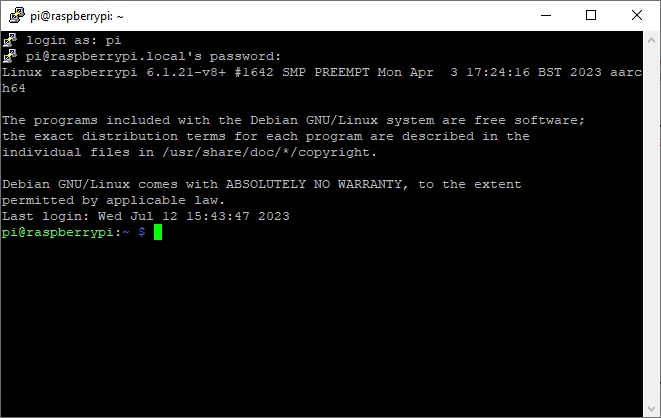
Select Accept in the display that appears, then enter the username and password in the terminal that opens. Input the username and password according to what was created during OS installation. After successfully logging in, the display on the terminal will be as follows.
5.Install Node.js and NPM Library
To send data to Antares using Node.js, you need to install Node.js and the NPM library first by entering the following syntax in the terminal.
To confirm whether Node.js and the NPM library were installed successfully, you can input the following syntax in the terminal.
If you can see the version of Node.js and the npm library after inputting the syntax above as in the following image, then the installation process has been successful.

6.NPM Library Initiation
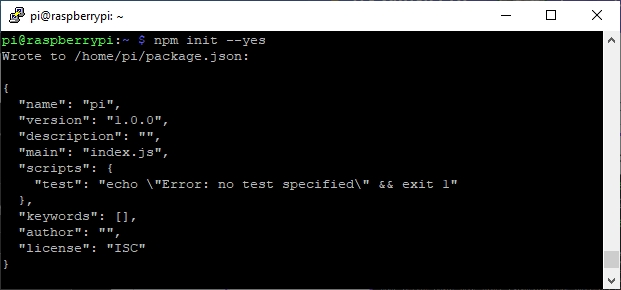
To be able to use the npm library, you need to initiate the library first by entering the syntax below in the terminal.
If the npm library initialisation process is successful, the terminal will output as shown below.
7. Instal Permintaan Modul
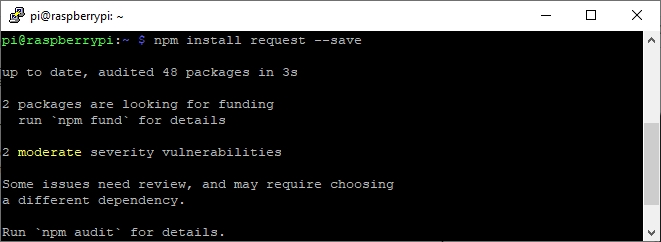
In order for the Raspberry Pi to send data to the Antares platform, it is necessary to install the request module in Node.js. You can input the syntax below to install.
After the HTTP Request module has been successfully installed, the display on the terminal will be as shown below.
8. Creating a Node.js File
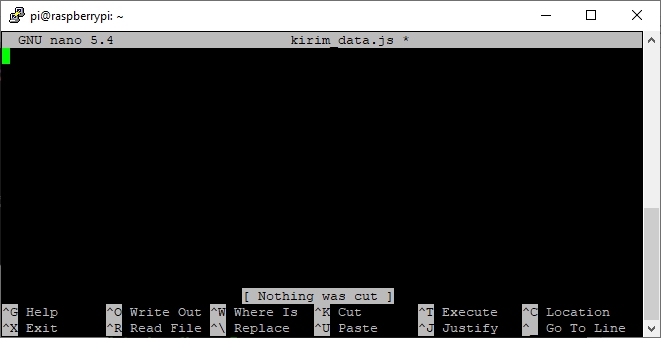
After successfully installing the necessary libraries, you need to create a file with the Node.js format. Enter the syntax below in the terminal to create the Node.js file.
After inputting the syntax above and pressing enter, the terminal display will change to the image below.
9. Inputting Programme Code
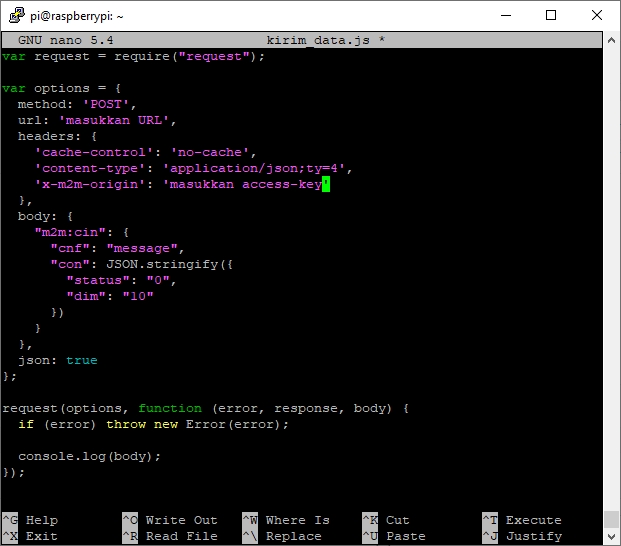
To send data to Antares, you can input the code below.
After inputting the above code, the display on the terminal will be as shown below.
10. Executing a Node.js File
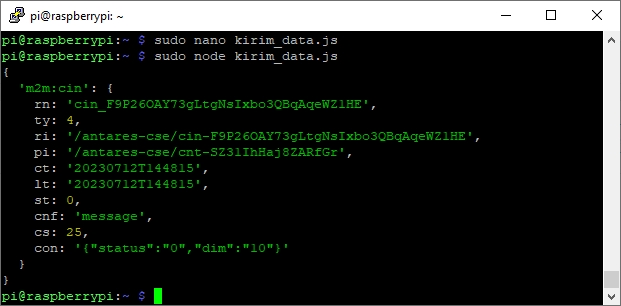
After the Node.js Request file is successfully saved. Next you can execute the file by inputting the following syntax.
After the Node.js file is executed, the display in the terminal will be like in the following image
11. Check Data on Antares IoT Platfom
To ensure that the data has been sent correctly from the Raspberry Pi to the Antares IoT Platform, you can open your device URL. The following image shows the display on the Antares IoT Platform that has received data from the Raspberry Pi.

Last updated