MIT App Inventor
MIT App Inventor is a platform to ease the process of creating simple applications without having to learn or use too many programming languages. We can design android applications as we wish using a variety of layouts and components available.
Below is how to use MIT App Inventor. If you need help and find flaws in this tutorial, please contact us via [email protected]
MIT App Inventor Display
In MIT App Inventor there are two main pages, namely the designer page and the blocks page. The designer page is used to design the appearance of the application with various components and layouts provided as desired. While the blocks page is used to programme the course of the android application in accordance with the objectives.
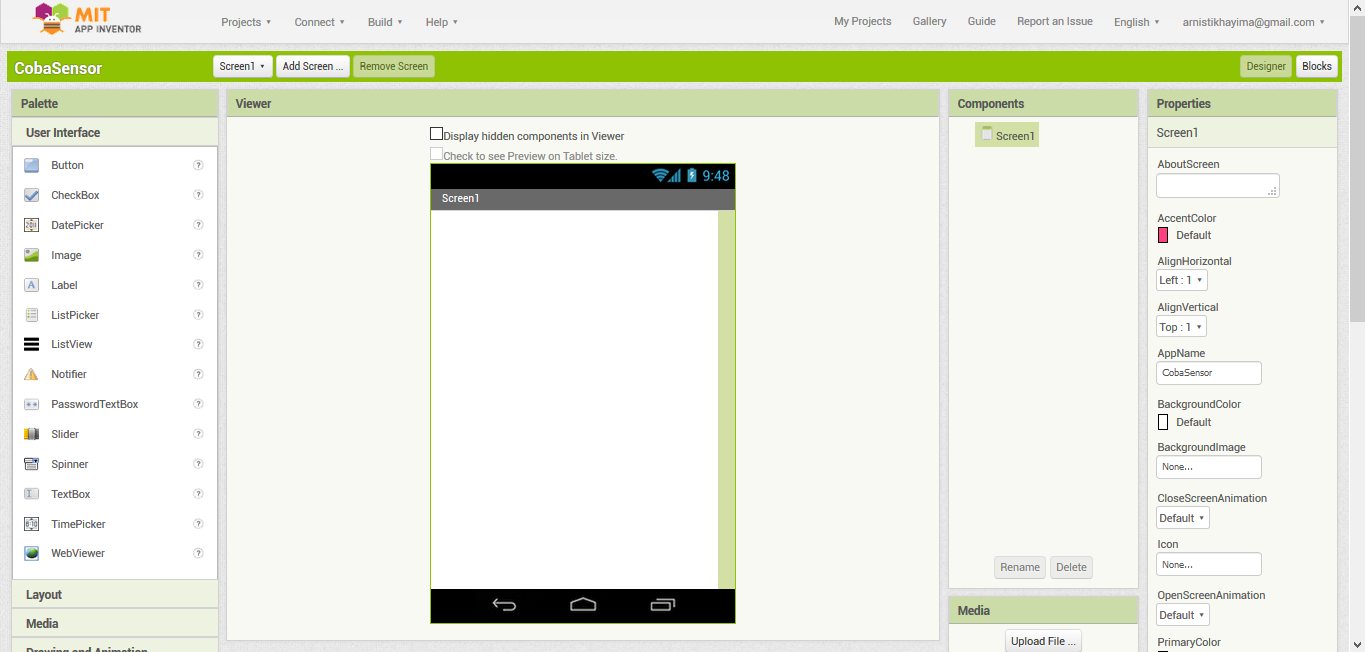
Designer Page
On the designer page there are several windows such as Palette, Viewer, Components, Media, and Properties. These tools function to design the appearance of the android application as desired.
Palette is a window where components categorised in several categories are taken to be included in the application created. There are User Interface, Layout, Media, Drawing and Animation, Maps, Sensors, Social, Storage, Connectivity, LEGO MINDSTORMS, Experimental, and Extension categories.
The Viewer is a place to set the appearance of components in the application later.
Components is a place to manage the components that have been placed in the viewer, such as renaming components, and deleting components.
Properties is a place to set screen properties, and components used in the application being created such as width, height, background colour, font size, etc.
Media is a place to upload images to be used in the application being created.
In the Palette section there are constituent components for designing applications, here are the constituent components:
1. User Interface
Symbol
Name
Function
![]()
Button
It can detect a tap, a hold down when the user presses a button, or when the user releases a button. When the button detects any of these, it will execute the command.
![]()
Checkbox
Can detect taps from the user and change its state to true/false (boolean).
![]()
Date Picker
Bring up the calendar to select a date.
![]()
Image
Inserting images in the application.
![]()
Label
Display text in the app.
![]()
List Picker
Displays a list that can be selected by the user when the user presses the list.
![]()
List View
Display the list.
![]()
Notifier
Display a pop-up message/warning in the application. The message can disappear automatically, or must receive input from the user before it disappears.
![]()
Password Text Box
Provides a textbox that hides the entered text.
![]()
Slider
Provides a swipeable progress bar.
![]()
Spinner
Displays a pop-up list with elements that can be selected when pressed.
![]()
Text Box
Provides an area to type text.
![]()
Time Picker
Bring up the clock to select the time.
![]()
Web Viewer
Provides an area that can display web pages.

Switch
A switch that triggers an event when the user clicks on it. There are many properties that affect its appearance that can be set in the Designer or Blocks Editor.
2. Layout
Symbol
Name
Function
![]()
Horizontal Arrangement
Arrange the components horizontally.
![]()
Horizontal Scroll Arrangement
Arranges components horizontally, but if the width of the component exceeds the width of this component, it can be scrolled.
![]()
Table Arrangement
Creating a table.
![]()
Vertical Arrangement
Arrange the components vertically.
![]()
Vertical Scroll Arrangement
Arranges components vertically, but if the height of a component exceeds the height of this component, it can be scrolled.
3. Media
Simbol
Name
Function
![]()
Camcorder
Activate the mobile phone camera and record.
![]()
Camera
Activate the mobile phone camera and take a picture.
![]()
Image Picker
Display the gallery on the app. The user can select the image to be saved from the displayed gallery.
![]()
Player
Play music/audio and adjust mobile phone vibrations.
![]()
Sound
Play music/audio and set the mobile phone to vibrate in specific time intervals.
![]()
Sound Recorder
Recording sound.
![]()
Speech Recognizer
Convert voice to text using the speech recognition feature on mobile phones.
![]()
Text to Speech
Converts text into sound. Pitch and reading speed can be set.
![]()
Video Player
Play videos and display their settings.
![]()
Yandex Translate
Translate text from one language to another.
4. Drawing and Animation
Symbol
Name
Function
![]()
Ball
A sphere sprite that can interact on touch and pull, as well as interact with other sprites on the canvas.
![]()
Canvas
The canvas where sprites interact with the user or with other sprites, or where the user draws.
![]()
Image Sprite
An image sprite that can interact on touch and pull, as well as interact with other sprites on the canvas.
5. Maps
Symbol
Name
Function
![]()
Circle
Visualises a circle with a specified radius (in metres) at specified coordinates. Can also be used to run a programme when the user is in an area.
![]()
Feature Collection
Grouping the features of Maps. Events that occur on one of the components in the group, will trigger events on the other components.
![]()
Line String
Draw lines on the map.
![]()
Map
Display the map on the app screen.
![]()
Marker
Mark a location on the map.
![]()
Polygon
Create a perimeter on the map.
![]()
Rectangle
It is a polygon with latitude and longitude for the north, south, east, and west boundaries. If the corners of the quadrilateral are moved, the coordinate information will be updated.
6. Sensors
Symbol
Name
Function
![]()
Accelerometer Sensor
Detect wobble and acceleration in m/s2.
![]()
Barcode Scanner
Reading barcodes.

Barometer
A sensor component that can measure ambient air pressure.

Clock
A non-visible component that provides instant time using the internal clock in mobile phones. It can switch on the timer at regular set intervals and perform time calculation, manipulation, and conversion.
![]()
Gyroscope Sensor
Measure angular velocity in degrees/second.

Hygrometer
A sensor component that can measure relative ambient air humidity.

Light Sensor
A sensor component that can measure light levels.
![]()
Location Sensor
Provides geographic information such as coordinates, altitude, speed, and address. Can also convert addresses to coordinates.

Magnetic Field Sensor
A sensor component that can measure the ambient geomagnetic field for all three physical axes (x, y, z).
![]()
Near Field
Allows apps to activate the near field communication (NFC) feature.
![]()
Orientation Sensor
Determine the orientation of HP.
![]()
Pedometer
Determine the number of steps, and the distance travelled.
![]()
Proximity Sensor
Measures the distance between the object and the mobile phone screen.

Thermometer
Sensor components that can measure the ambient (external) temperature.
7. Social
Symbol
Name
Function
![]()
Contact Picker
Displays a list of contacts when pressed.
![]()
Email Picker
Displays a list of emails when the user types in a keyword or the email of the target person.
![]()
Phone Call
Make phone calls.
![]()
Phone Number Picker
Display a list of contact numbers on the mobile phone screen.
![]()
Sharing
Allows the exchange of files or messages between one application and another application on the mobile phone.
![]()
Texting
Send a text message to a contact number.
![]()
Enables communication with Twitter so that users can create tweets, view tweets, etc.
8. Storage
Symbol
Name
Function
![]()
CloudDB
A non-visible component that allows you to store data on a database server connected to the Internet (using Redis software).
![]()
Data File
A component that allows reading CSV and JSON data. DataFile contains relevant functionality to access CSV or JSON parsed data in the form of rows or columns.
![]()
File
Receive or send files. Can also be used to read or write files.
![]()
Spreadsheet
Spreadsheet is a non-visible component for storing and receiving data from Spreadsheet documents using the Google Sheets API.
![]()
Fusiontables Control
Enables communication with Google Fusion Table. Google Fusion Table can store, share, query and visualise data tables.
![]()
TinyDB
Stores data for the application so that when the application is closed, and then reopened, the data is still stored.
![]()
TinyWebDB
Store data on the web.
9. Connectivity
Symbol
Name
Function
![]()
Activity Starter
Call other apps.
![]()
Bluetooth Client
Create an application as a Bluetooth client.
![]()
Bluetooth Server
Create an application as a Bluetooth server.
![]()
Serial
Serial components that can be used to connect to devices such as Arduino
![]()
Web
Allows applications to interact with the web and provides functions for HTTP GET, POST, PUT, and DELETE.
10. Experimental
Symbol
Name
Function
![]()
FirebaseDB
Allows application users to exchange data in the database with Firebase.
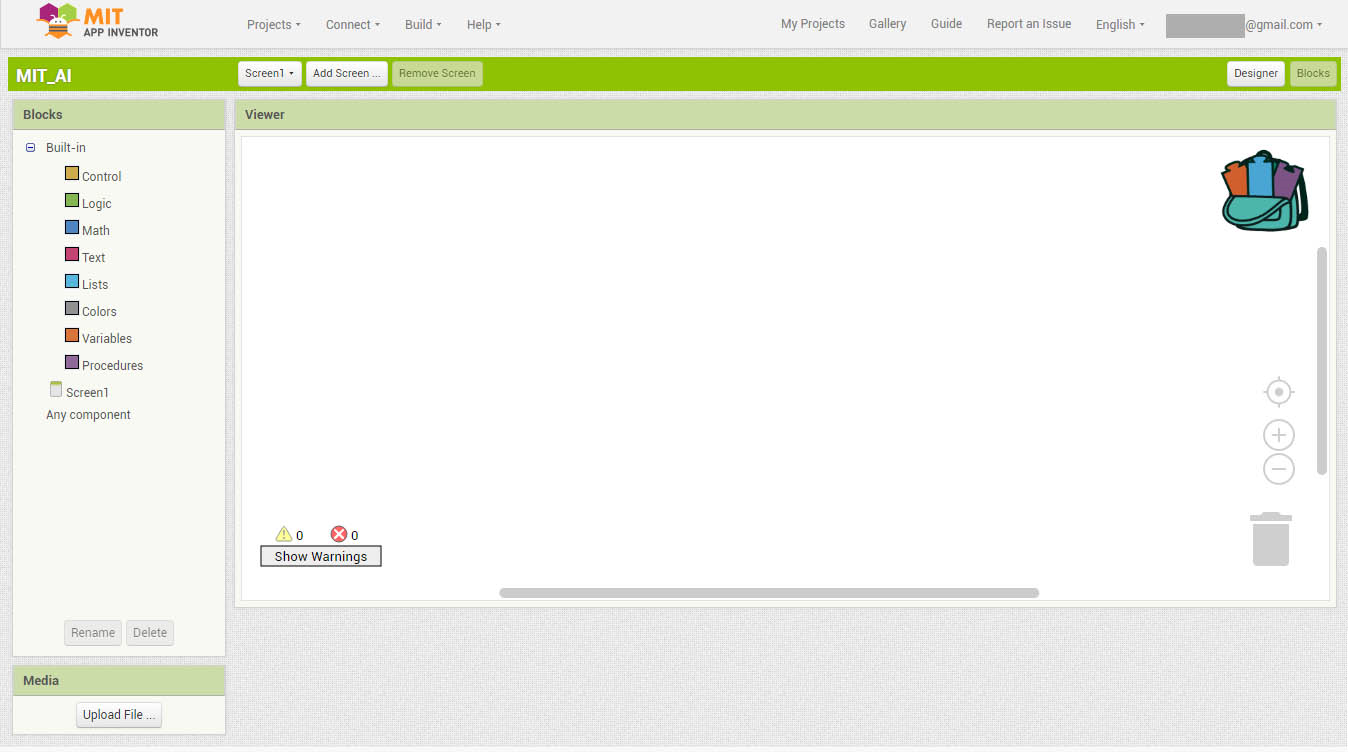
Blocks Page
On the blocks page there are several codeblocks that function to programme the android application as desired. On the block page there are several components such as Control, Logic, Math, Text, Lists, Colors, Variables, and Procedures. The following are the components found on the blocks page:
1. Control
Block Code
Function

If conditional. If "if" fulfils the condition, then the block that comes after "then" is executed.
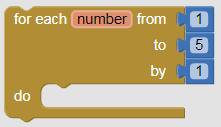
Looping from the first number to the last number with an interval. So the picture beside means a loop from the number 1 to 5 with the interval 1: 1, 2, 3, 4, 5.
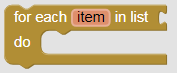
Multilevel for. For each object in the list, looping is performed.
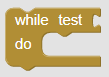
If the test value is true, the while loop runs.
2. Logic
Block Code
Function
![]()
![]()
Boolean true/false.
![]()
If paired with true/false then true becomes false, and false becomes true.
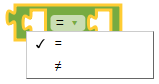
Checks whether an object is equal to/not equal to the object on the right. If it matches the criteria, the block will return true, and false if it does not.
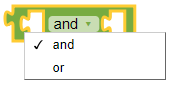
In and logic, if both conditions are fulfilled, the value becomes true. Whereas in or logic, if one or both conditions are fulfilled, then the value becomes true.
3. Math
Block Code
Function
![]()
Used to input numbers.
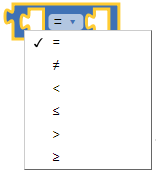
Used to compare two numbers. Comparisons can be equal to, not equal to, more than, less than, more than equal to, and less than equal to.

Basic maths operations, namely add, subtract, multiply, divide, power and modulus.
![]()
Randomly retrieves an integer value from the specified range.
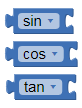
Trigonometric operations sin, cos, tan.
4. Text
Block Code
Function
![]()
Blank text.

Combine two or more texts.
![]()
Checks if the text is empty or not.
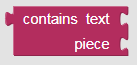
Check if there is a specific section in a text.
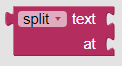
Separates the text at certain markers and makes it into a list.
5. List
Block Code
Function
![]()
Create an empty list.
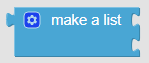
Make a list.
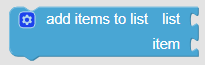
Add an element to the list.

Checks if a certain element exists in the list.
![]()
Checks the number of elements in the list.
![]()
Checks whether the list is empty or not.
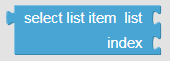
Retrieve elements from a list.
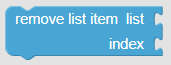
Remove elements from a list.
6. Colors
Block Code
Function
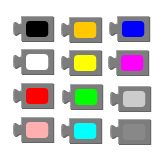
Colour options provided by MIT AI.
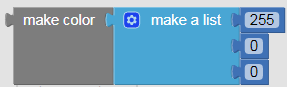
Create your own colours using RGB colour codes.
7. Variables
Block Code
Function
![]()
Create a global variable.
![]()
Retrieve global variables.
![]()
Modify the contents of a global variable.
8. Procedure
Block Code
Function
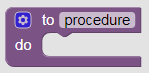
Create a procedure.
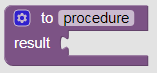
Create a function that returns a specific result.
Connecting to ANTARES
After we know about MIT App Inventor and its features, next we will create an application that will connect to the ANTARES server to send and receive data.
A. Send Data to Server
Send data (post) in the MIT App Inventor section, is a command used in the MIT App Inventor application to be able to post data manually from the data we input in the MIT App Inventor "text box" to the ANTARES Platform. Before making code blocks for the Post application, it can be done by making a design first. The component design that we have made, functions as a tool that will help users to be able to run the application that has been made. An example of a design for the Post Data application from MIT App Inventor to ANTARES is as follows:
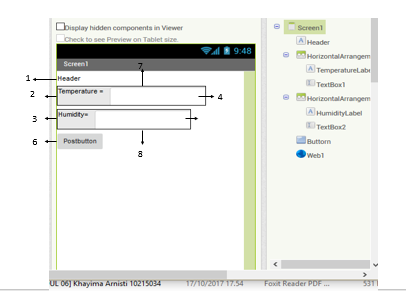
The above design uses several components, namely:
No.
Palette
Komponen
Nama Komponen
1
User Interface
Label
Header
2
User Interface
Label
Temperature
3
User Interface
Label
Humidity
4
User Interface
TextBox
TextBox1
5
User Interface
TextBox
TextBox2
6
User Interface
Button
PostButton
7
Layout
HorizontalArrangement
HorizontalArrangement1
8
Layout
HorizontalArrangement
HorizontalArrangement2
9
Connectivity
Web
Web1
After we create the design of the application display, the next step is to create a programme to run the application as intended. To programme it, we use the code blocks found on the blocks page.
To be able to send data to the ANTARES server, the data transmission format uses JSON format. The following below is the JSON format along with code blocks:
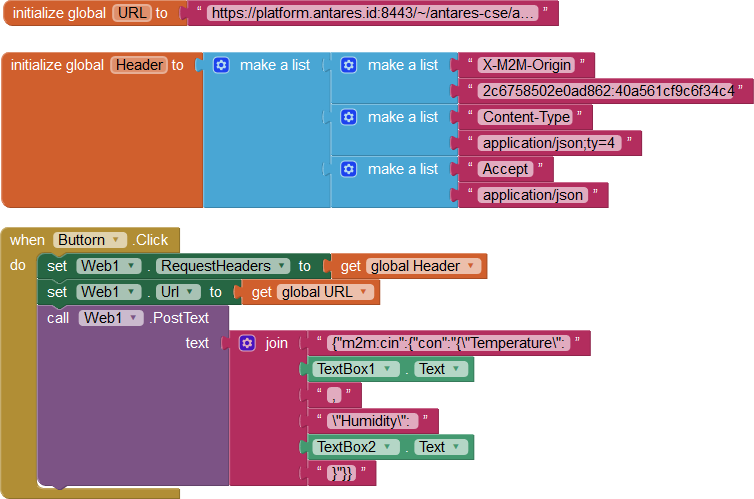
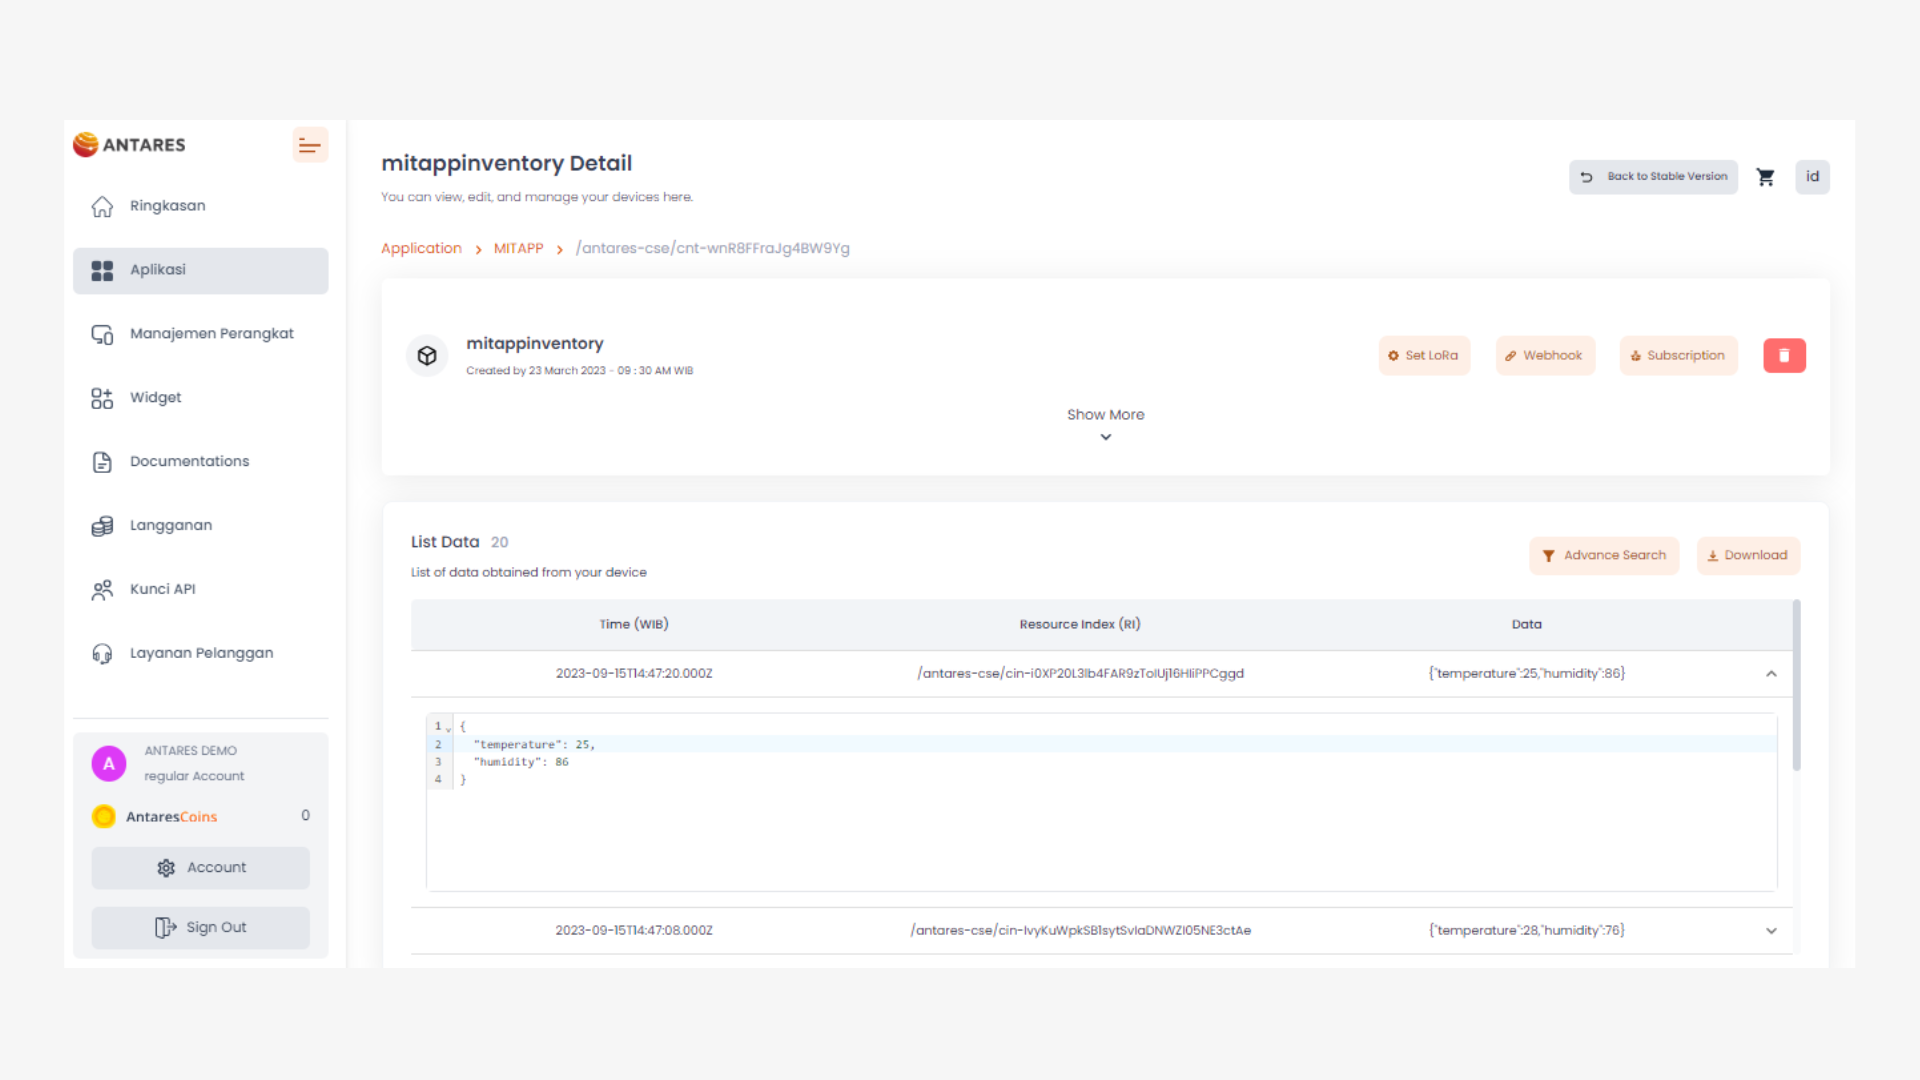
After we make the design and programme for the application, then we will see the data sent to the server through the ANTARES console (https://console.antares.id/dashboard/application). The following is the data displayed on the ANTARES console:
B. Receive Data from Server
The Get data application with MIT App Inventor is a simple application that will display the data we take from a platform via URL and Header. In this Get Data process using the ANTARES platform. The example we made, tries to get data from the ANTARES documentations "Retrieve Latest Data". Before creating the Get Data application on MIT App Inventor, we first create a design for the application as follows:
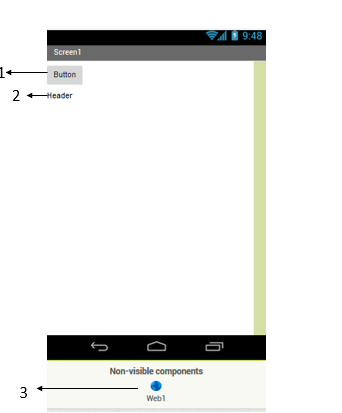
The above design uses several components, namely:
No.
Palette
Komponen
Nama Komponen
1
User Interface
Button
Button
2
User Interface
Label
Header
3
Connectivity
Web
Web1
After we create the application design, we then programme it using the available code blocks as follows:
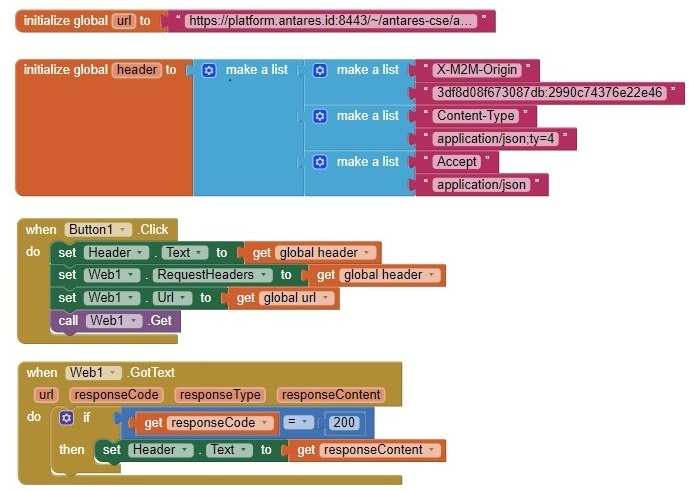
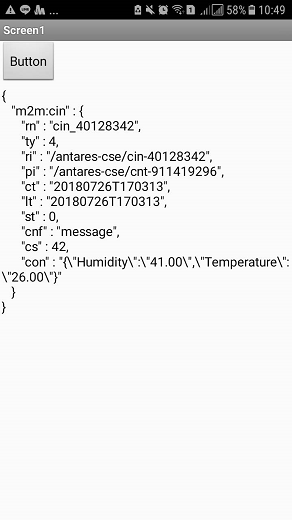
After we design and programme the application, we can see the results in the android application that we created earlier. The data displayed is the last data from the console in ANTARES which has JSON format. Here is the result display:
C. Receive Realtime Data
In this section, an application is created that can retrieve data from Antares, display it on the screen, and update the displayed data automatically if the user wants to get a live measurement. The data retrieved is temperature and humidity data obtained using the DHT11 sensor. The UI in this application consists of 3 sections, namely the instruction section, the results section, and the preview section. The following user interface settings are made on the MIT App Inventor (AI) "Designer" tab:
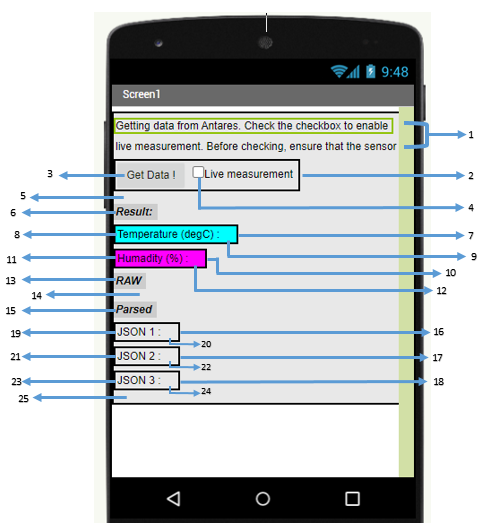
The above design uses several components, namely:
No.
Palette
Component
Component Name
1
User Interface
Label
Label1
2
Layout
HorizontalArrangement
HorizontalArrangement1
3
User Interface
Button
BGet
4
User Interface
CheckBox
CBLiveMeasurement
5
User Interface
Label
LRC
6
User Interface
Label
Label2
7
Layout
HorizontalArrangement
HorizontalArrangement2
8
User Interface
Label
Label5
9
User Interface
Label
LTemp
10
Layout
HorizontalArrangement
HorizontalArrangement3
11
User Interface
Label
Label6
12
User Interface
Label
LHum
13
User Interface
Label
Label3
14
User Interface
Label
LRaw
15
User Interface
Label
Label4
16
Layout
HorizontalArrangement
HorizontalArrangement4
17
Layout
HorizontalArrangement
HorizontalArrangement5
18
Layout
HorizontalArrangement
HorizontalArrangement6
18
Layout
HorizontalArrangement
HorizontalArrangement6
19
User Interface
Label
Label7
20
User Interface
Label
LJSON1
21
User Interface
Label
Label9
22
User Interface
Label
LJSON2
23
User Interface
Label
Label11
24
User Interface
Label
LJSON3
25
User Interface
Label
LParsed
26
Connectivity
Web
Web1
27
Sensors
Clock
Clock1
After we create the application design, we then programme it using the available code blocks as follows:

![]()
![]()
![]()

![]()
![]()


 After we design and programme the application, we can see the results on the android application that we created. The data displayed is the last data and will continue to refresh automatically. Here is the result display:

Last updated