Operating System (OS) on SD Card Installation
Last updated
Last updated
Before using the Raspberry Pi, the SD Card that will be installed on the Raspberry Pi board must be installed with the operating system (OS). The way that can be done to install the OS is to use the Raspberry Pi Imager, which can be downloaded at the link. After downloading and installing Raspberry Pi Imager on a computer, you can then follow the following steps.
You can install an SD card on your computer using a card reader.
Make sure the SD Card is empty by formatting it first. After formatting, open "Disk Management" in the search bar. Make sure that the SD Card is in Healthy condition (marked in blue) as shown below.
If the SD Card has an unallocated volume, you can right-click on the disc and select New Simple Volume as shown below.
In the window that appears, select Next until the Format Partition section. Follow the settings as shown below and then select Next again and press Finish.
Here is the initial view of the newly opened Raspberry Pi Imager.
In the application, select "CHOOSE OS", so that various operating systems (OS) that can be installed will appear. In the OS list that appears, select Raspberry Pi OS (32-bit) as shown below.
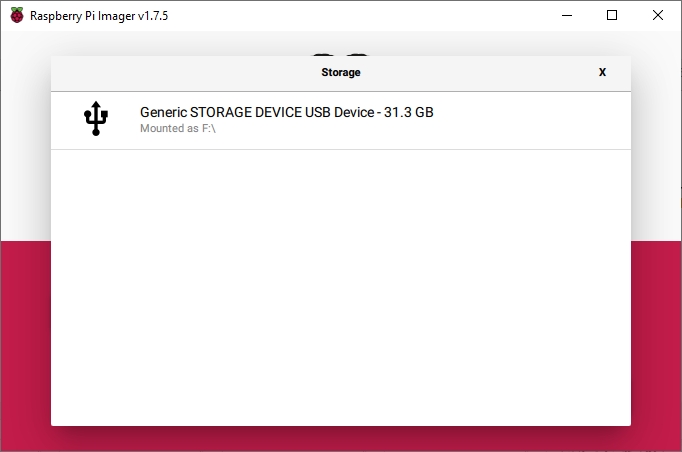
Select the SD Card to install the OS by pressing the "CHOOSE STORAGE" button. The image below shows the list of SD Cards already installed on the computer.
You can enter the Advanced Option menu by pressing the icon on the bottom right, as shown below.
In the display that appears, tick the "Set hostname" and "Enable SSH" sections as shown below. The hostname can be changed according to your preference.
Tick the "Set username and password" and "Configure wireless LAN" sections. The username and password will be used for SSH login, while the SSID and password sections can be filled in with the WiFi network that the Raspberry Pi will connect to.
Tick "Set locale settings", then enter the Time zone section with the Asia/Jakarta option and the Keyboard layout section with the us option, then press the SAVE button.
After everything is ready, press WRITE, then the display that will appear is as shown below. Wait until the installation process is complete, then remove the SD Card from the computer and install it on the Raspberry Pi.