LoRaWAN | Downlink Tutorial
Last updated
Last updated
LoRaWAN Downlink Tutorial
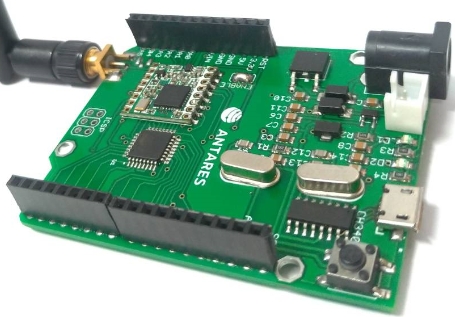
In this tutorial, you will use POSTMAN or MQTT FX software to send downlink messages to your LoRaWAN device. The module used in this tutorial is the Arduino LoRa Antares module based on Arduino Pro Mini (ATMEGA328P).
Before you start, make sure you have fulfilled the following conditions:
a. Install the Arduino IDE on your computer. Click Arduino IDE Software if you haven't installed it yet.
b. To find out how to install the ESP32 library Click Tutorial Here ESP32 Board Install Tutorial
c. LoRaWAN Library: Download the LoraWAN Library in the Arduino IDE. Click the link below:
*Note: Library is only for LYNX-32 board.
d. To use RESTFUL API based on HTTP protocol, you need to install POSTMAN software. Click POSTMAN Software if you haven't installed it yet.
e. To use the RESTFUL API based on the MQTT protocol, you need to install the MQTT FX software. Click MQTT FX Software if you have not installed it yet.
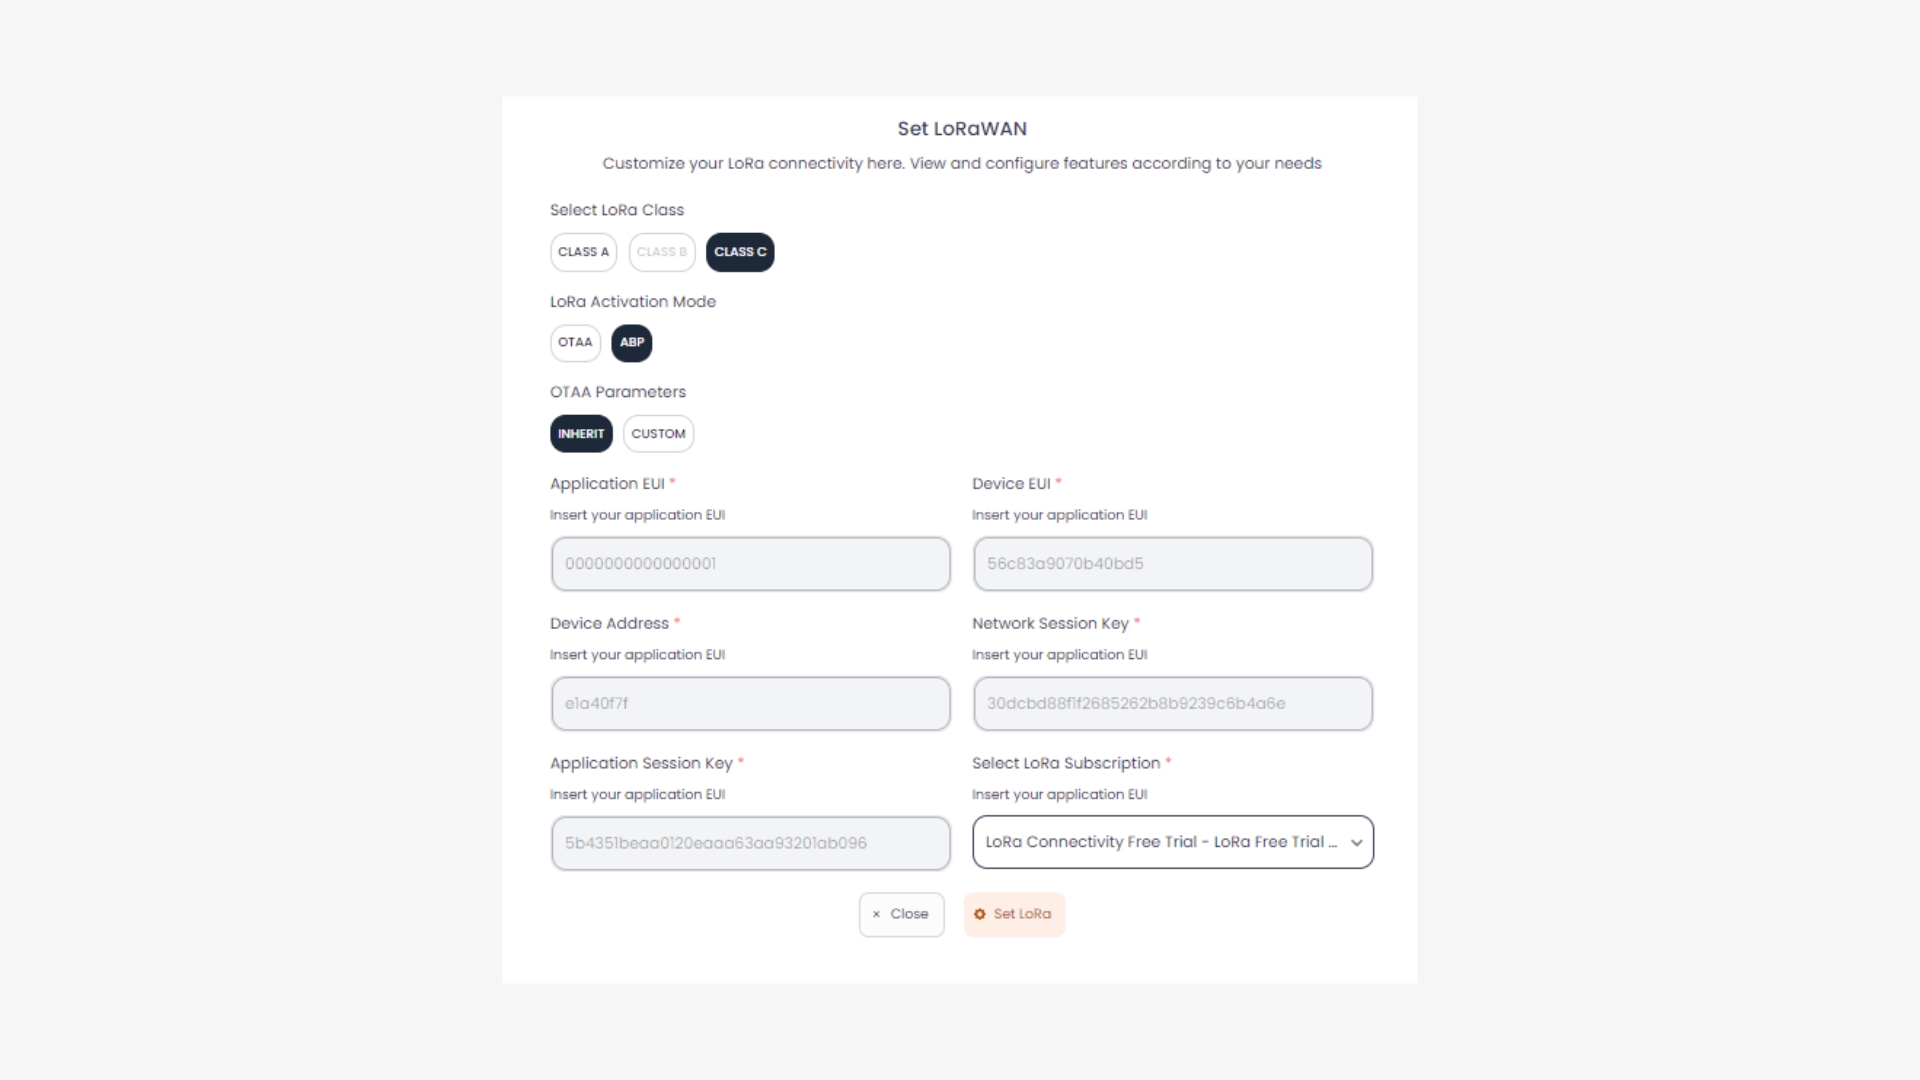
a. Log in to your Antares account console page. Create a device on the application in your account console. If you already have a device you can immediately open the device page that you created earlier. Then click Set LoRa as in the following image:
Then the Set LoRa Device dialogue box will appear as shown below. In the Select LoRa Device Class option, select Class C > ABP Activation > ABP Parameter Inherit > Click Set LoRa.
b.In the Arduino IDE, configure the Arduino Pro or Pro Mini as the board you will be using. Click Tools > Board > Arduino Pro or Pro Mini.
c. In the Arduino IDE, configure the Processor ESP32 dev board as the processor you will use. Click Tools > Processor > ESP32 dev board. *Notes: If using another board, select according to the board used
d. In the Arduino IDE, configure the Port according to the Arduino LoRa Board you are using. Click Tools > Port > COM ....
e. In the Arduino IDE, upload the class C example program from the loraid library via File> Examples> Antares LoRaWAN> send-class-C-ABP. Adjust the access key data and also the device address according to the account in ANTARES. Here is the source code for the example class C file.
After uploading the class C example programme on the board used. Make sure the device has sent lora data and arrived at the ANTARES platform. If the data from the board can enter ANTARES, then the next step is to downlink (send a message) to the device via the ANTARES Platform via POSTMAN or MQTT FX.
After you have finished configuring the device and the device is confirmed to be able to send data to ANTARES, it's time to try to send a downlink to the device via the ANTARES Platform using POSTMAN software.
If you have not installed POSTMAN, you can follow the tutorial on the POSTMAN Tutorial page.
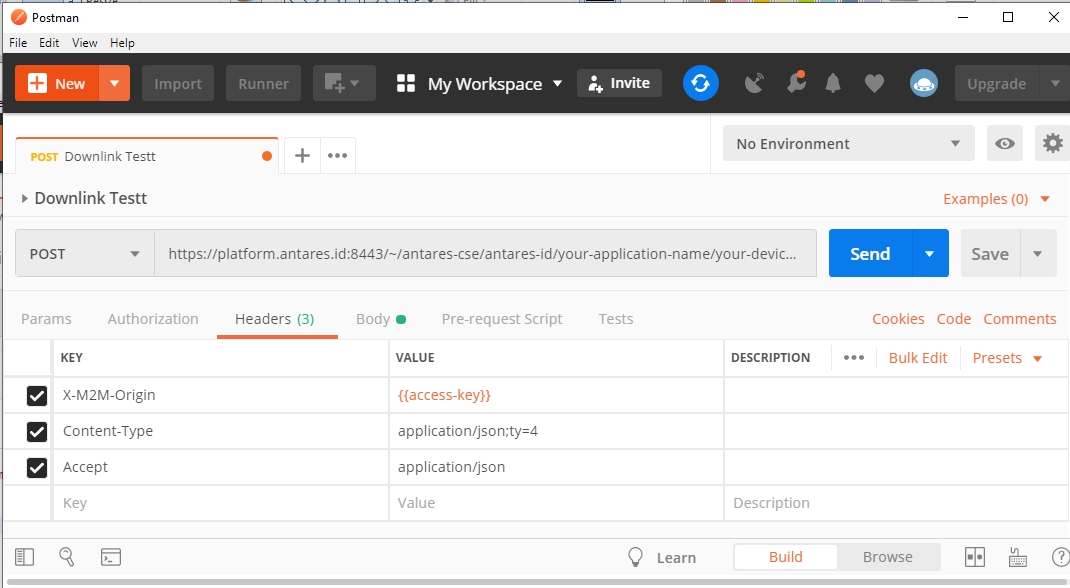
To perform the downlink, the POST method is used. To perform this POST method, header and body parameters are required. Firstly, fill in the Header parameters according to the table below: *Notes: Customise the access key and URI address parameters according to your account.
Field
Initial Value
Current Value
access-key
your-access-key
your-access-key
application-name
your app name in ANTARES
your app name in ANTARES
device-name
your device name in ANTARES
your device name in ANTARES
Your e-mail
Your e-mail
If filled in, the header will look like this
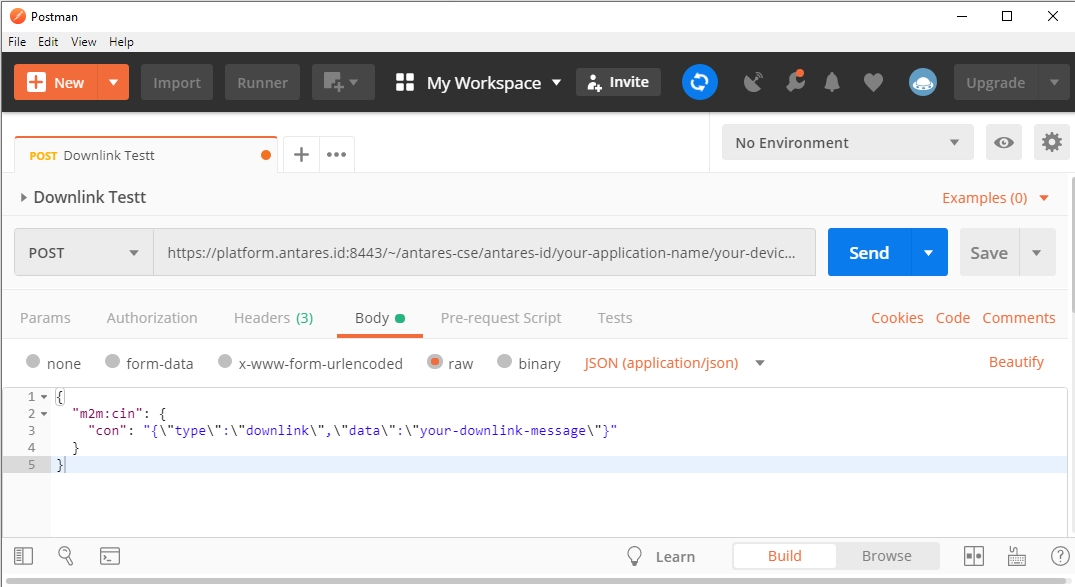
Then next to the body section. In this body section contains the data you want to send to your LoRa device. Fill in the Body parameter according to what you want to send to the device by following the format below:
Field
Value
Body
If the body parameter has been filled in, it will look like the image below:
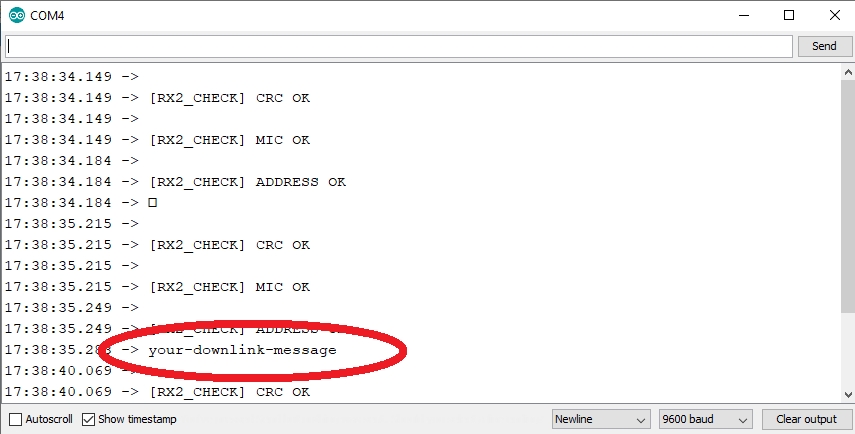
Click send to execute POST downlink message to ANTARES. If it has been POSTed, the downlink message will be sent directly to the device via the nearest LoRa gateway. The downlink message can be seen through the serial monitor on the Arduino IDE.
If using an Arduino board, you can use a Baud Rate of 9600 to view the received downlink data. Here is an example of a serial monitor when successfully receiving a downlink:
After you have finished configuring the device and the device is confirmed to be able to send data to ANTARES, apart from using POSTMAN, for those of you who are more suitable for using the MQTT protocol, you can try to send a downlink to the device via the ANTARES Platform using MQTT FX software.
In this section, to send data via MQTT FX, you need to configure the broker to the ANTARES Platform as follows:
Host
mqtt.antares.id
Port
1883
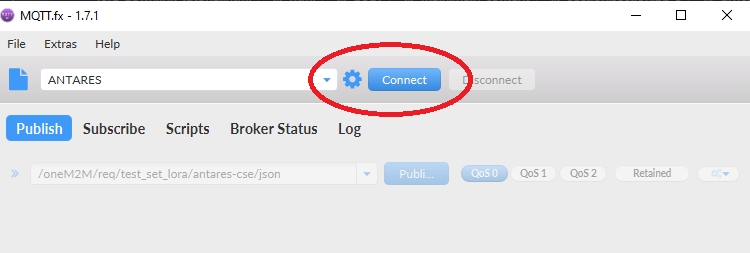
For the Client ID section, it can be adjusted to your account access key or other uniqe code. After it is appropriate, it can be saved by pressing the save button. After the broker configuration is appropriate, it can be directly connected to the ANTARES MQTT broker by pressing the Connect button.
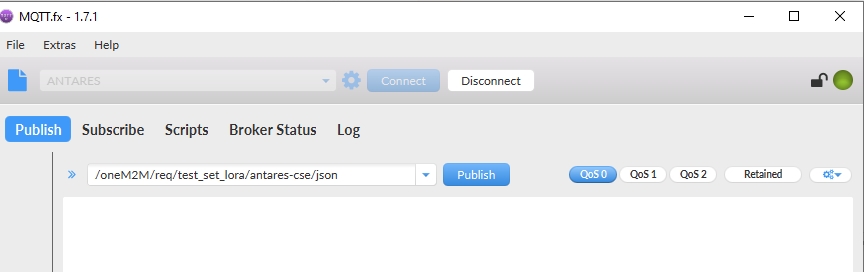
If it is connected, it will display a green circle on the top right as shown:
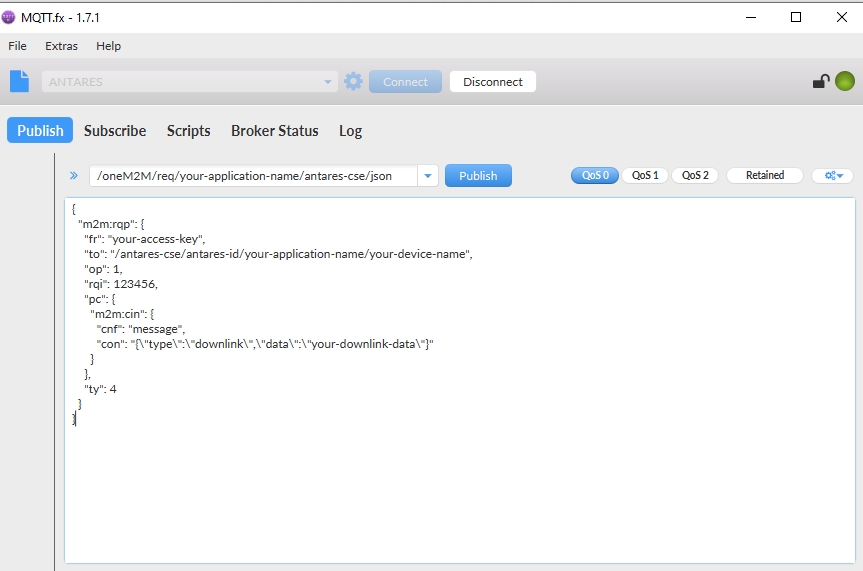
After connecting, the next step is to send a publish to ANTARES to a device registered with ANTARES by inputting the topic and also the content body as follows:
Topic
/oneM2M/req/your-access-key/antares-cse/json
Payload
After the access key data and device address are correct, click the publish button to send the data to ANTARES.
If you successfully enter ANTARES, the ANTARES device will appear as shown below:
If you successfully enter ANTARES, the ANTARES device will appear as shown below: