
Connecting Raspberry Pi with Power Source and Monitor
Connecting Raspberry Pi with Power Source and Monitor
GUI Raspberrry Pi

Terminal Icon Marked with Red Box
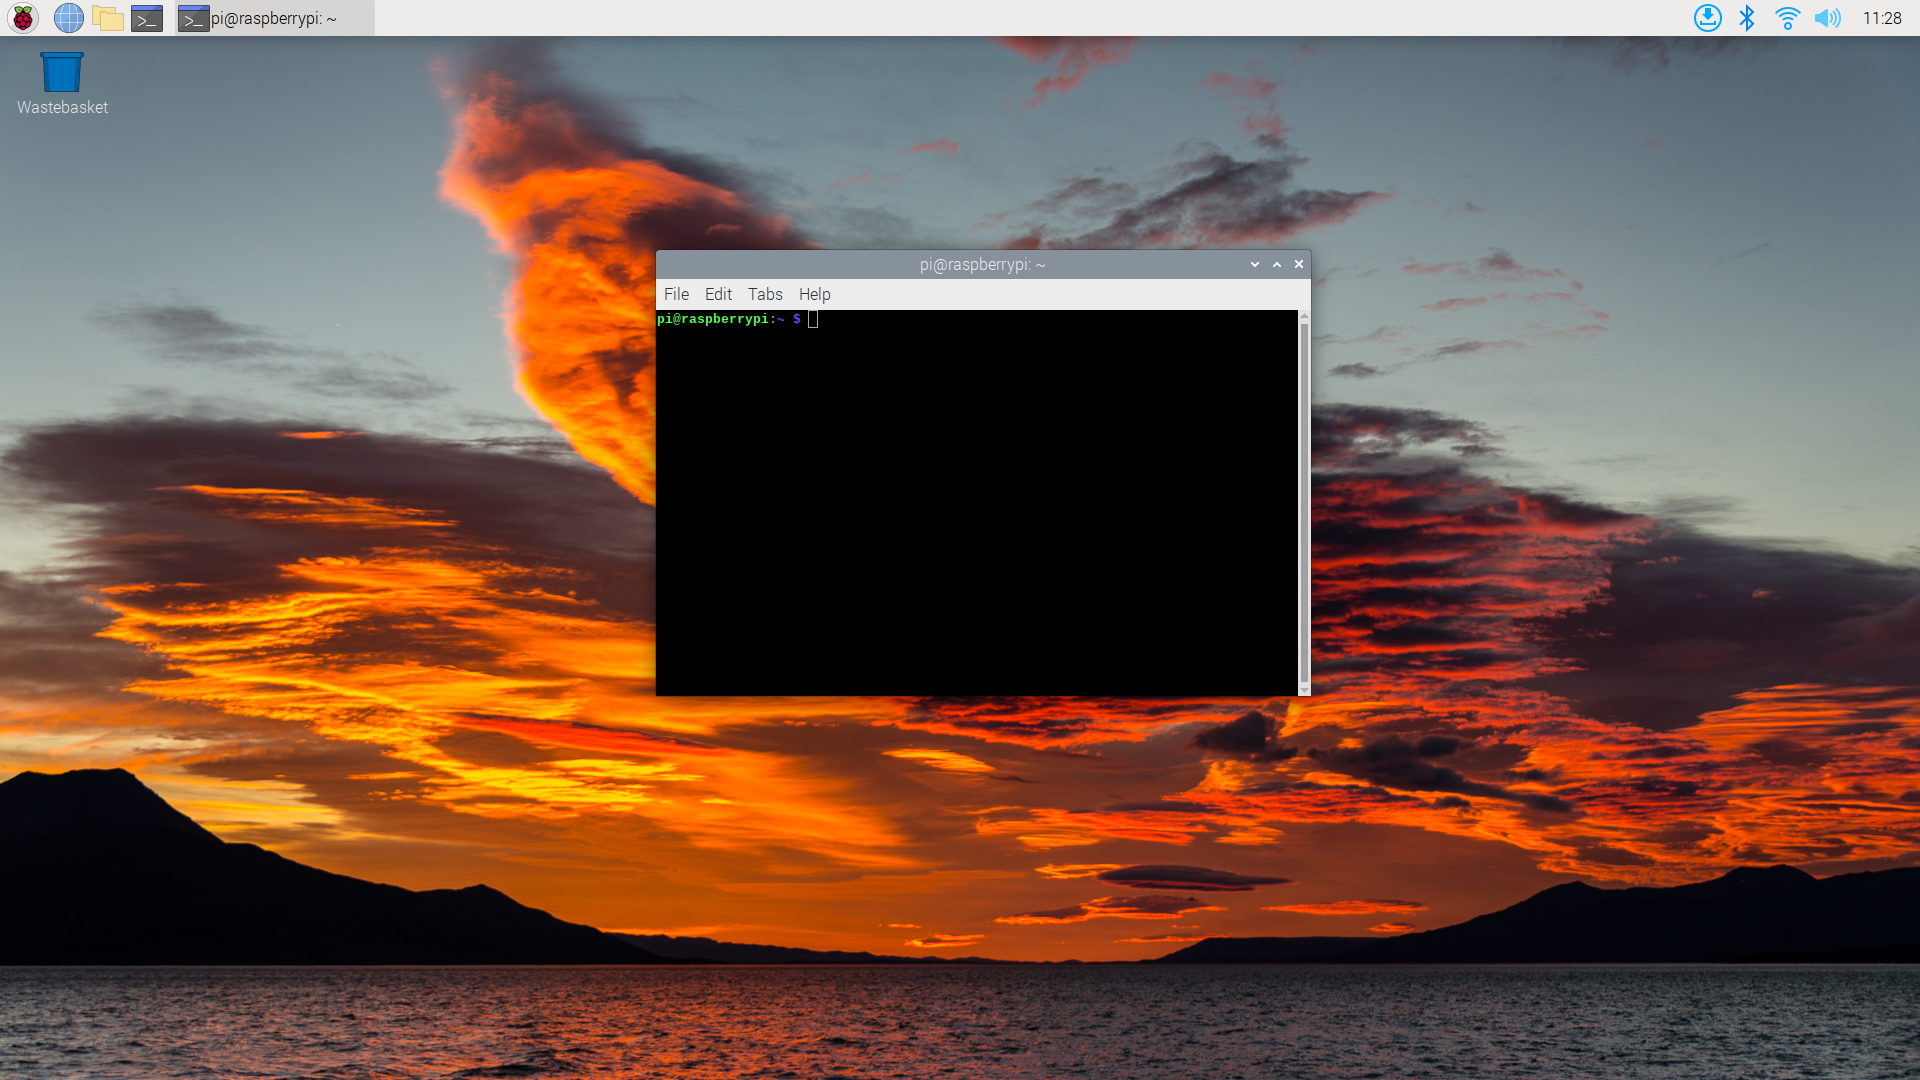
Terminal View on GUI
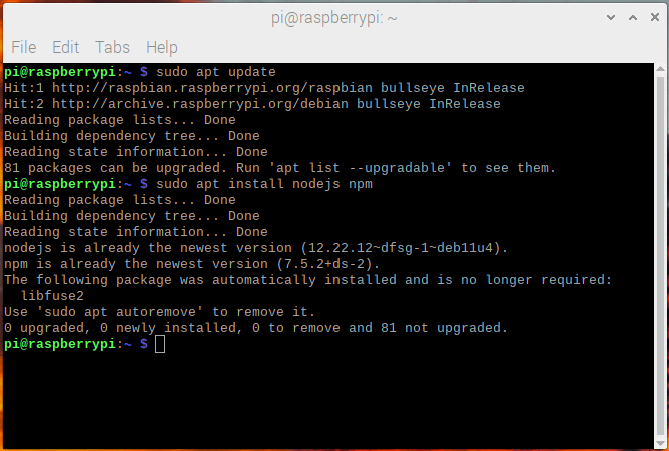
Node.js and NPM Library Installation Successful
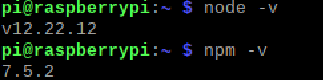
Node.js version and npm Library
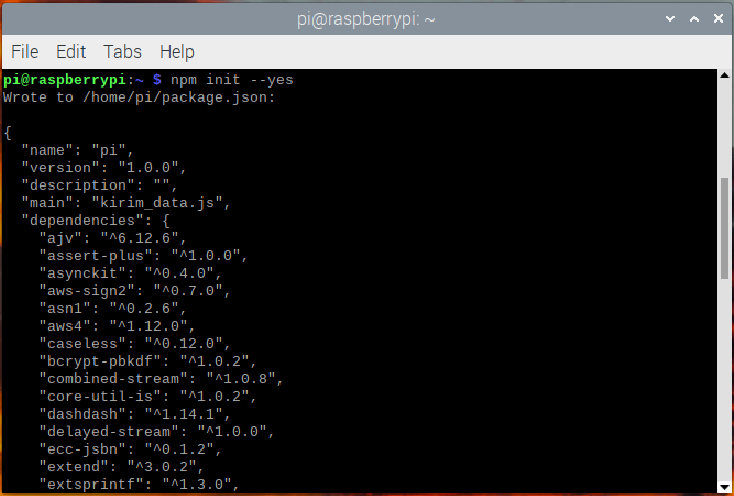
NPM Library Initiation
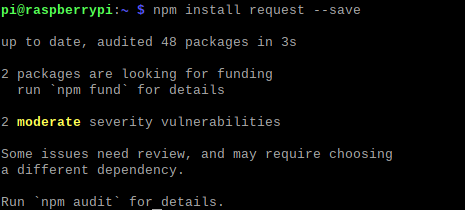
HTTP Request Module Installation
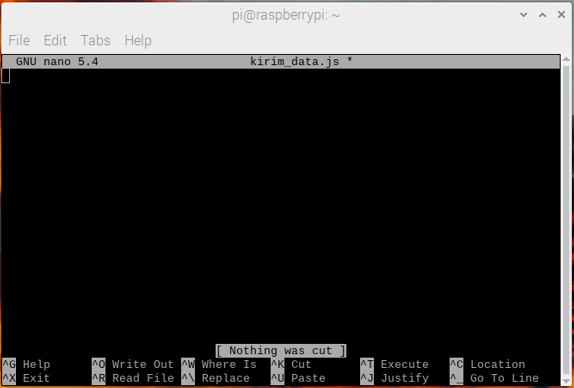
Created Node.js File
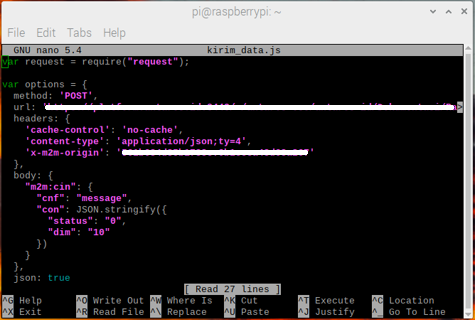
Inputted programme code
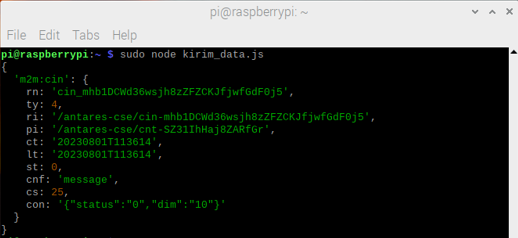
Terminal Output when Node.js File is Executed

Display on Antares IoT Platform that has Received Data from Raspberry Pi